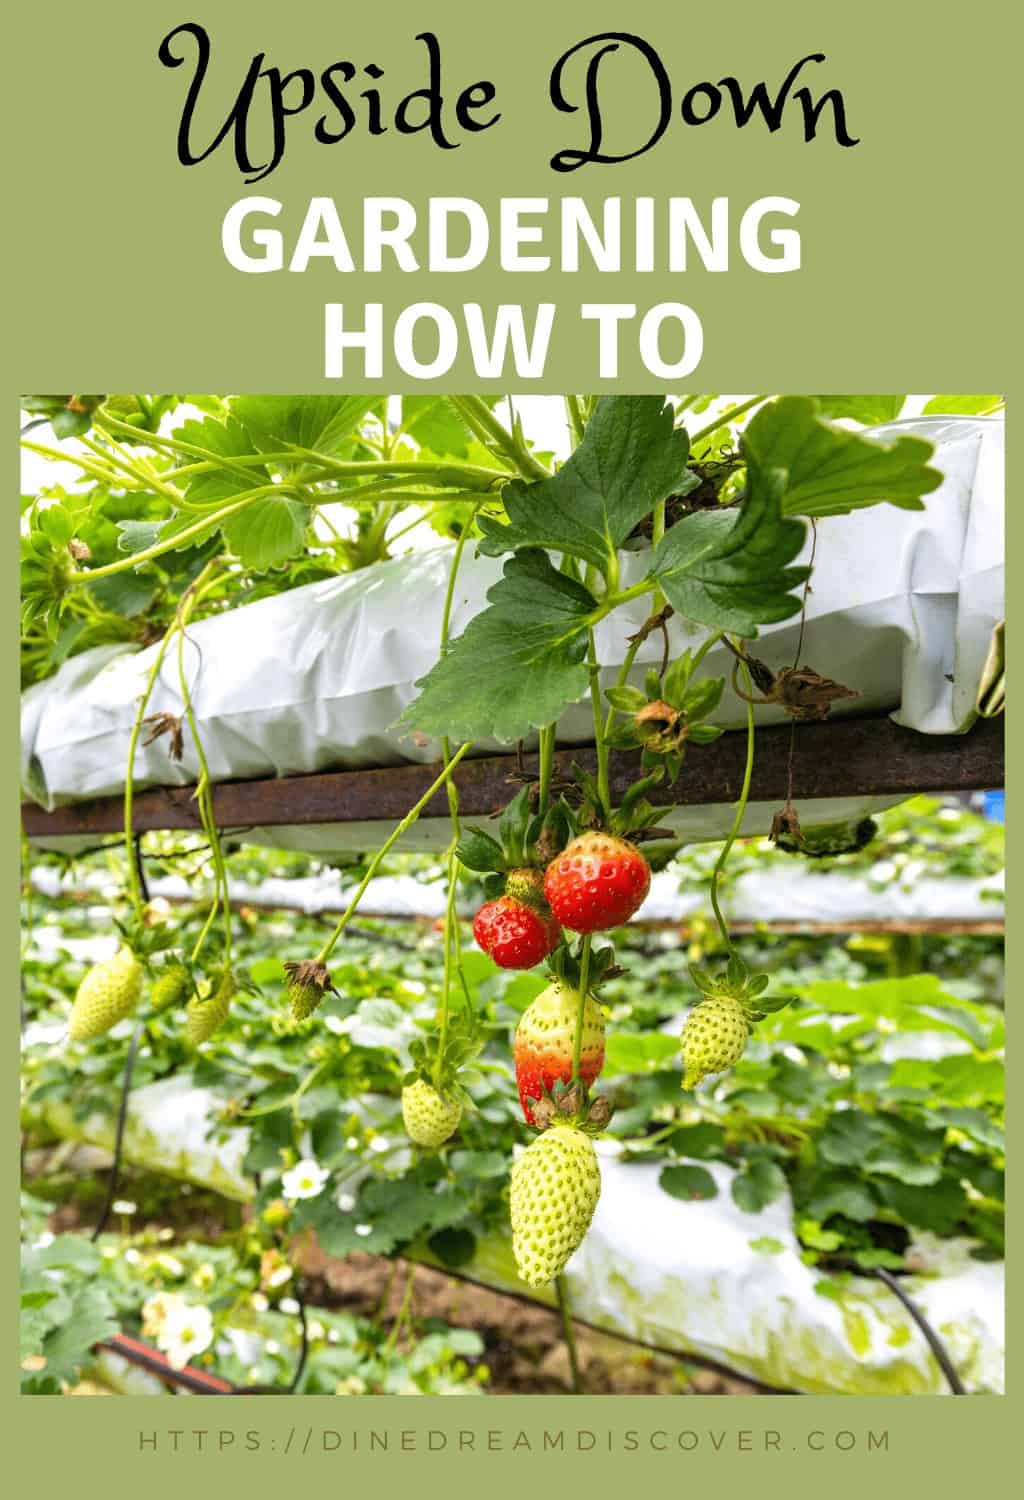
Upside down gardening is exactly what it sounds like, your plants will hang upside down. Here are some tips about creating your own upside down garden.
This post may contain affiliate links. See my disclosure policy for more info.
Upside Down Gardening
Has your standard garden gotten boring? Are pests invading your painstaking work? Sometimes it's good to turn things on their head, to see the world from a new angle. Enter the concept of upside down gardening. Upside down gardening is exactly what it sounds like, your plants will hang upside down. Here are some tips about creating your own upside down garden. And it can be even be done while living in the RV. There are many things that can be grown in small containers that will make some awesome recipes.
Why Upside Down?
* Low maintenance - When you're growing plants upside down, you don't have to do any tilling of the soil. No rakes or other large tools are needed. You don't have to do any weeding. Only your plant will grow upside down in the designated container. Staking becomes a thing of the past. In addition, upside down plants are much easier to water and drainage is readily available. There's no danger of the fruit touching the soil on the ground because the plant is hanging upside down, it's not going to touch the ground.
* Great for small spaces - You don't need acres of farmland for upside down gardening, or even a yard. An upside down garden can grow on your patio, in your kitchen, or anywhere you have a place to hang it.
* Keeps critters at bay - Because the plant is hanging upside down, it is much more difficult to access. With an upside down garden, you don't have to worry about any bug infestations. Likewise, because of the height, the plant is protected - invasive animals can't eat the fruit.
What Grows Well Upside Down?
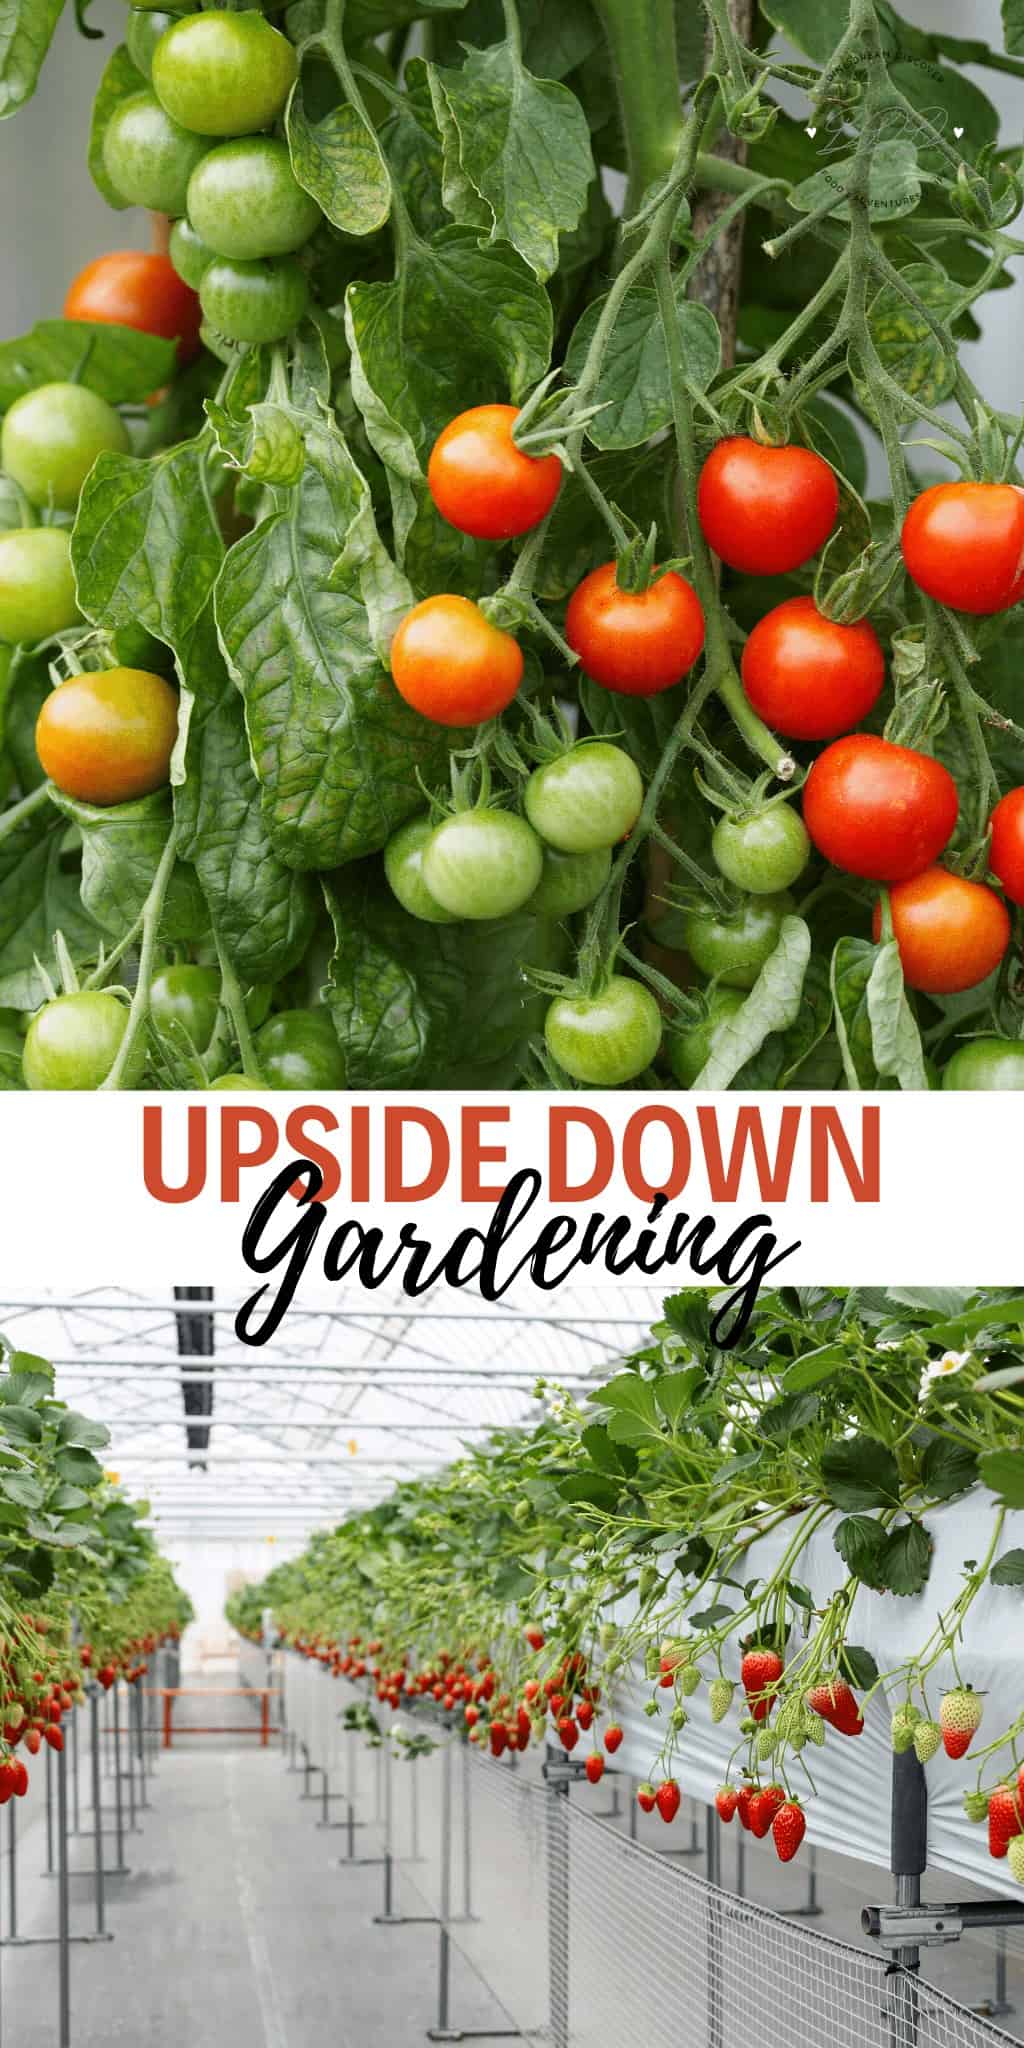
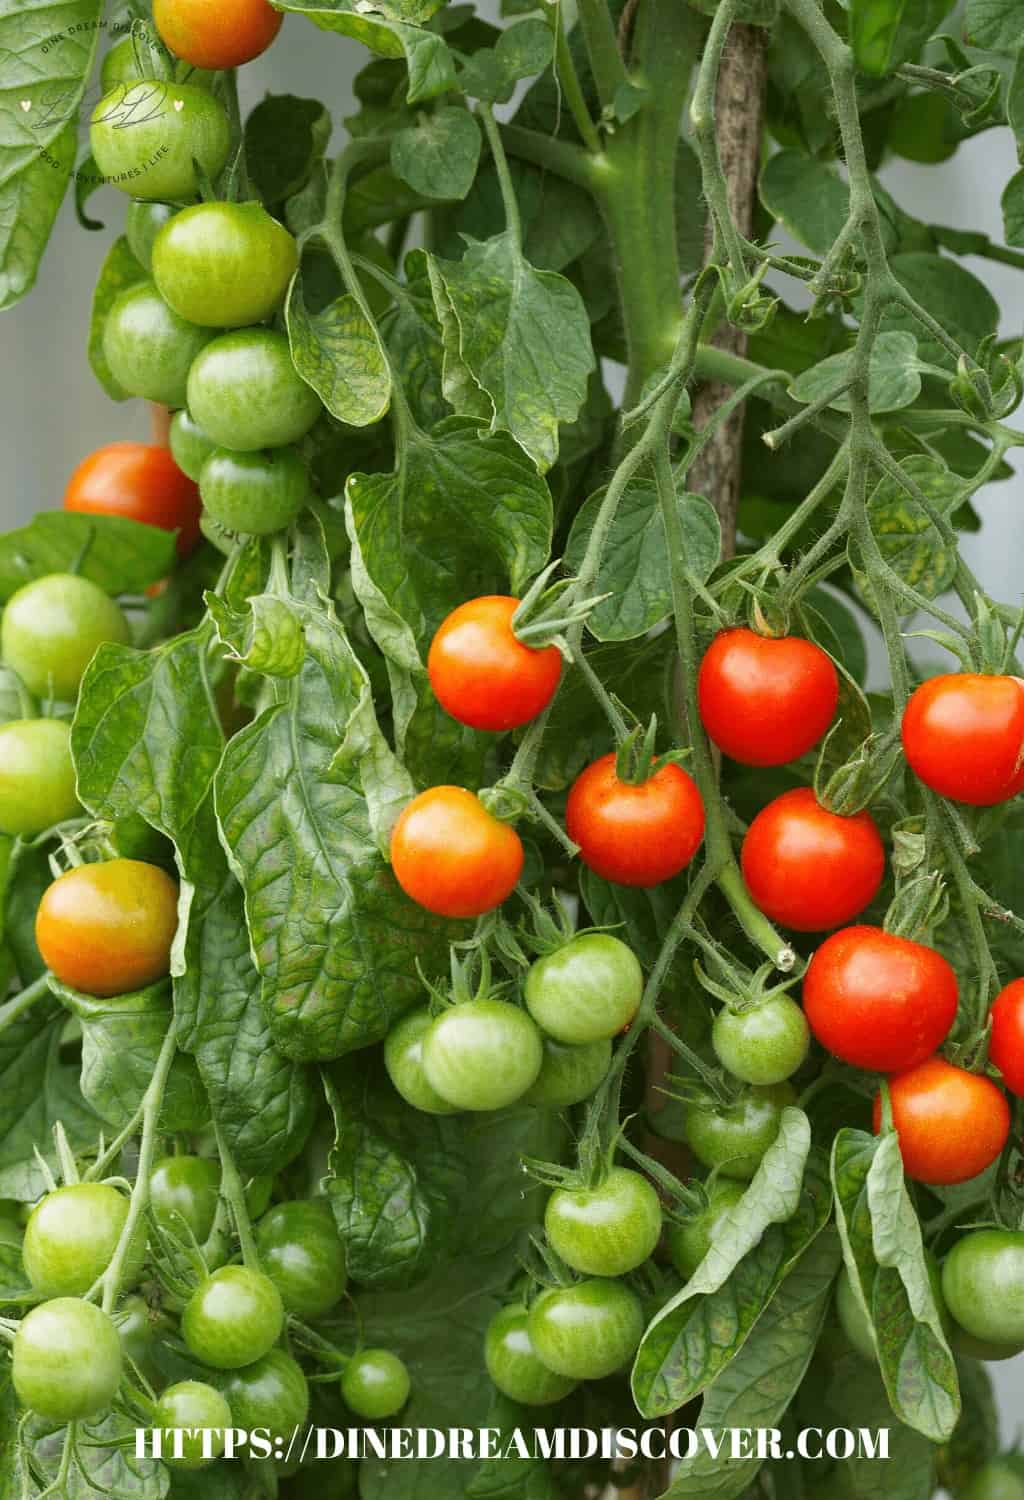
Tomatoes and cucumbers are easy choices, but herbs and flowers also grow well upside down. Beware of overly large tomatoes, which can weigh down the vine. Cayenne peppers, basil, eggplants, squash and beans all work well. Marigolds are also a good choice for the upside down garden.
How Do I Do This?
Organize some containers, potting soil
, and plants
. Consider the amount of sunshine in your location and take into account the size of the plant when you're selecting containers.
- Take a bucket and turn it upside down. Using a sharp blade such as an exacta knife
, cut a hole in the bottom large enough for your plant to grow through. About 2 inches should suffice.
- Turn the bucket
right side up. Poke two holes in either side, and use heavy string or wire to loop three rings through so that you can hang your bucket. Cut a half-inch hole in the middle of a sponge, then cut a straight line from the middle to the edge (it will look like a C).
- Remove the plant (probably 6" would be a good size) from its container and place it through the hole in the bottom of the bucket.
- Put the sponge
inside the base of the bucket to hold the plant in place.
- Fill the bucket half full with soil
.
- Place a tray
under your bucket to catch excess water.
- Water your plant lightly, then fill in the rest of the bucket with soil.
- Hang your plant. Water it thoroughly until water runs out the bottom and then check your plant for moisture frequently.
- Rotate your plant clockwise every week to ensure the plant receives adequate sunshine.
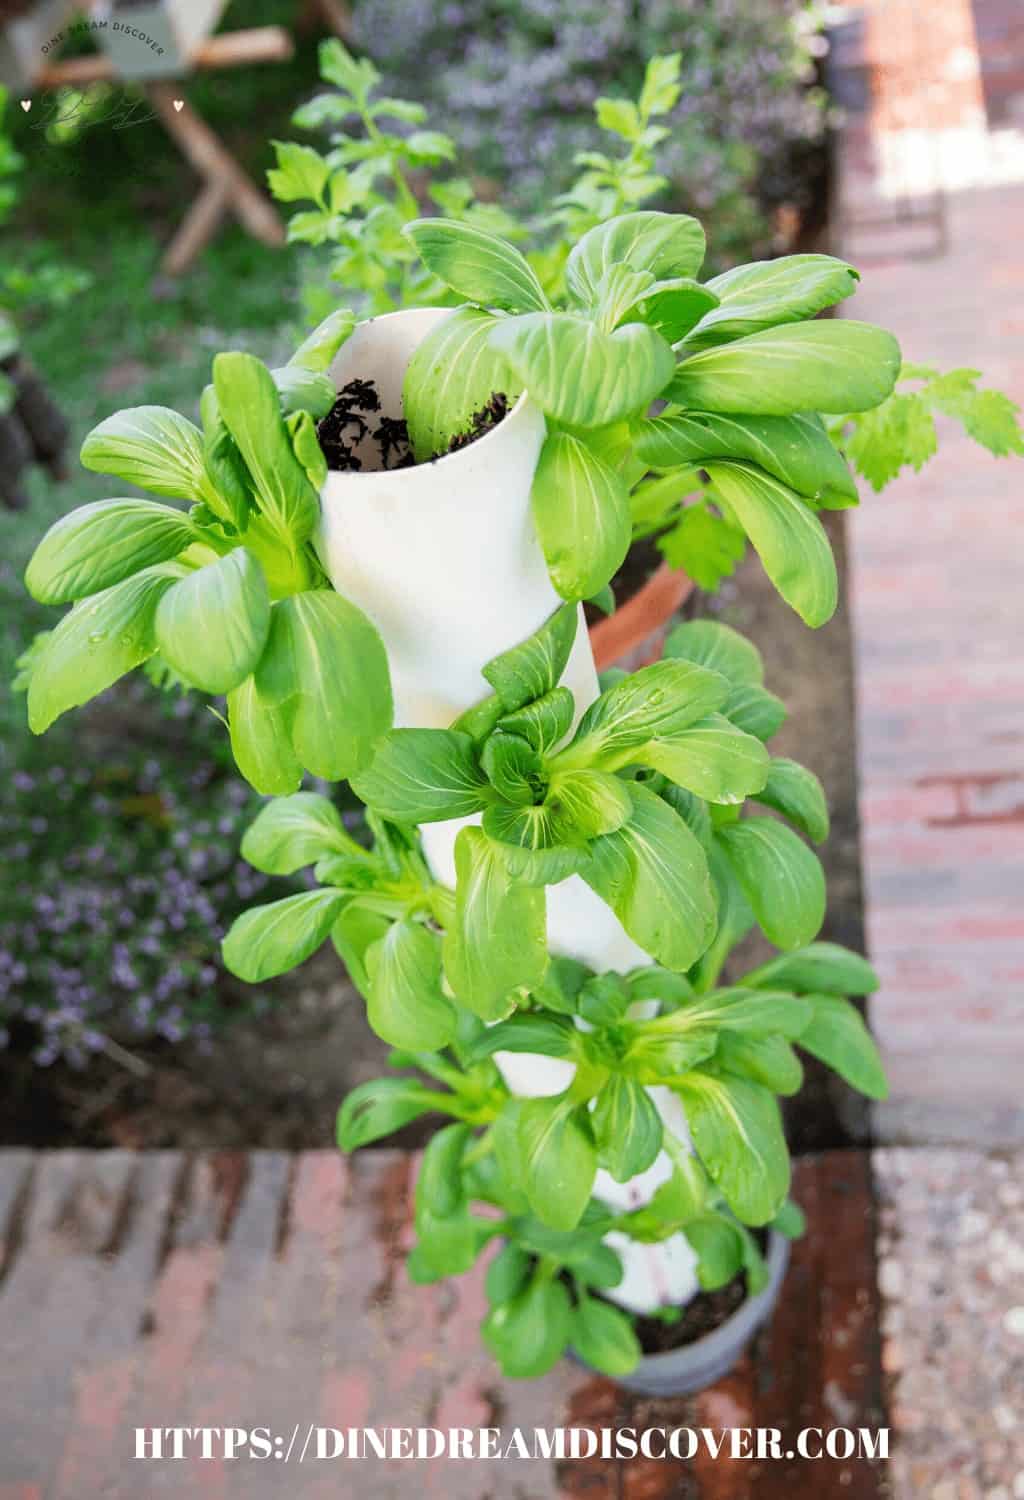
- You can even plant other plants in the top of your bucket.
In Conclusion on our how to plant tomatoes in a bucket upside down
Upside down gardens can be a rewarding way to have maintenance-free gardening, especially for people with limited gardening space. Remember to choose smaller plants so that they fit your container well, and be sure your space has adequate sunshine. In this way you'll have a wonderful crop of upside down vegetables, herbs or flowers to show your friends.
Follow us on Pinterest and PIN IT FOR LATER!



Leave a Reply