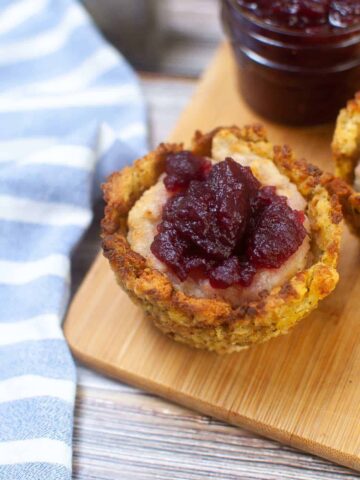
If you're a fan of baking, you've probably heard of cast iron muffin tins. They're versatile, durable, and can help you make delicious muffins, cupcakes, and even mini pies. In this guide, we'll go over everything you need to know about using a cast iron muffin tin to ensure your baked treats come out perfectly every time.
The Benefits of Using a Cast Iron Muffin Tin
One of the primary benefits of using a cast iron muffin tin is its durability. Cast iron is known for being sturdy and long-lasting, so you won't have to worry about your muffin tin warping or breaking over time. Additionally, cast iron is an excellent heat conductor, which means your baked goods will cook evenly and have a golden-brown finish. It also retains heat very well, so your muffins will stay warm for a longer time.
Another benefit of using a cast iron muffin tin is that it is a healthier option compared to other materials. Cast iron is a natural non-stick surface, which means you won't need to use as much oil or butter to prevent your muffins from sticking. This can help reduce the amount of fat in your baked goods, making them a healthier option for you and your family.
Lastly, using a cast iron muffin tin can also add a unique flavor to your baked goods. Cast iron has a porous surface that can absorb and retain flavors from previous bakes. This means that over time, your muffins can develop a subtle, smoky flavor that is unique to your cast iron muffin tin. This can add an extra layer of depth to your baked goods and make them even more delicious.
Different Sizes and Shapes of Cast Iron Muffin Tins
Cast iron muffin tins come in a variety of sizes and shapes, so you can choose the one that's best suited for your needs. Mini muffin tins, for instance, are perfect for bite-sized treats while jumbo muffin tins are ideal for those who like a larger portion. You can also find ones in various shapes, including hearts, stars, and even skulls for a spooky touch.
Another factor to consider when choosing a cast iron muffin tin is the number of muffins it can make at once. Some tins have six cups, while others have twelve or even twenty-four. This is important to keep in mind if you're baking for a large group or if you want to make multiple batches at once.
It's also worth noting that cast iron muffin tins require a bit of extra care compared to other types of muffin tins. They need to be seasoned before use and should be hand-washed and dried thoroughly to prevent rusting. However, with proper care, a cast iron muffin tin can last for generations and provide delicious muffins for years to come.
Seasoning Your Cast Iron Muffin Tin for Optimal Performance
The first thing you need to do before using your cast iron muffin tin is to season it. This is an essential step that will help prevent your muffins from sticking and also improve the non-stick coating over time. To season your muffin tin, start by preheating your oven to 350°F. Next, use a paper towel to rub a thin layer of vegetable oil or melted shortening all over the inside of the muffin tin, including the wells and edges. Place the tin upside down on the middle rack of your oven and bake for 1 hour. Let it cool before wiping off any excess oil.
After seasoning your cast iron muffin tin, it's important to properly clean it after each use. Avoid using soap or harsh detergents, as they can strip away the seasoning. Instead, use hot water and a stiff brush to scrub away any food residue. Dry the tin thoroughly with a towel or by placing it in a warm oven for a few minutes.
Another tip for optimal performance is to avoid using metal utensils on your cast iron muffin tin, as they can scratch the surface and damage the seasoning. Instead, use silicone or wooden utensils to prevent any damage. With proper seasoning and care, your cast iron muffin tin can last for generations and provide delicious, non-stick muffins every time.
Tips for Greasing and Preparing Your Cast Iron Muffin Tin
To ensure your muffins come out of the tin easily, it's essential to grease each well thoroughly. You can use cooking spray, melted butter, or vegetable oil to coat the inside of the wells. Another trick is to dust the wells with flour or cornmeal, which can help prevent sticking and also add a bit of texture to the bottom of your muffins. Before pouring your batter into the wells, use a pastry brush or paper towel to spread the grease evenly.
It's important to note that cast iron muffin tins require a bit more care than traditional muffin tins. After each use, you should clean the tin with hot water and a stiff brush. Avoid using soap, as it can strip the seasoning from the cast iron. Instead, use a mixture of coarse salt and water to scrub away any stubborn bits of batter or grease. Once the tin is clean, dry it thoroughly with a towel or by placing it in a warm oven for a few minutes.
If you're storing your cast iron muffin tin for an extended period of time, it's a good idea to lightly coat it with oil to prevent rust. Simply rub a small amount of vegetable oil onto the surface of the tin, making sure to cover all of the wells. Store the tin in a dry place, away from any moisture or humidity. With proper care and maintenance, your cast iron muffin tin can last for generations.
Filling Your Cast Iron Muffin Tin with Batter
When filling your cast iron muffin tin with batter, it's crucial not to overfill each well. Overfilling can cause the batter to spill over and create uneven muffins. A good rule of thumb is to fill each well about two-thirds of the way full, leaving enough room for the muffins to rise without overflowing. You can use a spoon or a cookie scoop to portion out the batter, or pour it using a measuring cup.
Another important tip when filling your cast iron muffin tin with batter is to make sure the batter is well-mixed and free of lumps. Lumpy batter can result in unevenly baked muffins with pockets of uncooked batter. To avoid this, mix the batter thoroughly and use a whisk or a fork to break up any lumps before filling the wells.
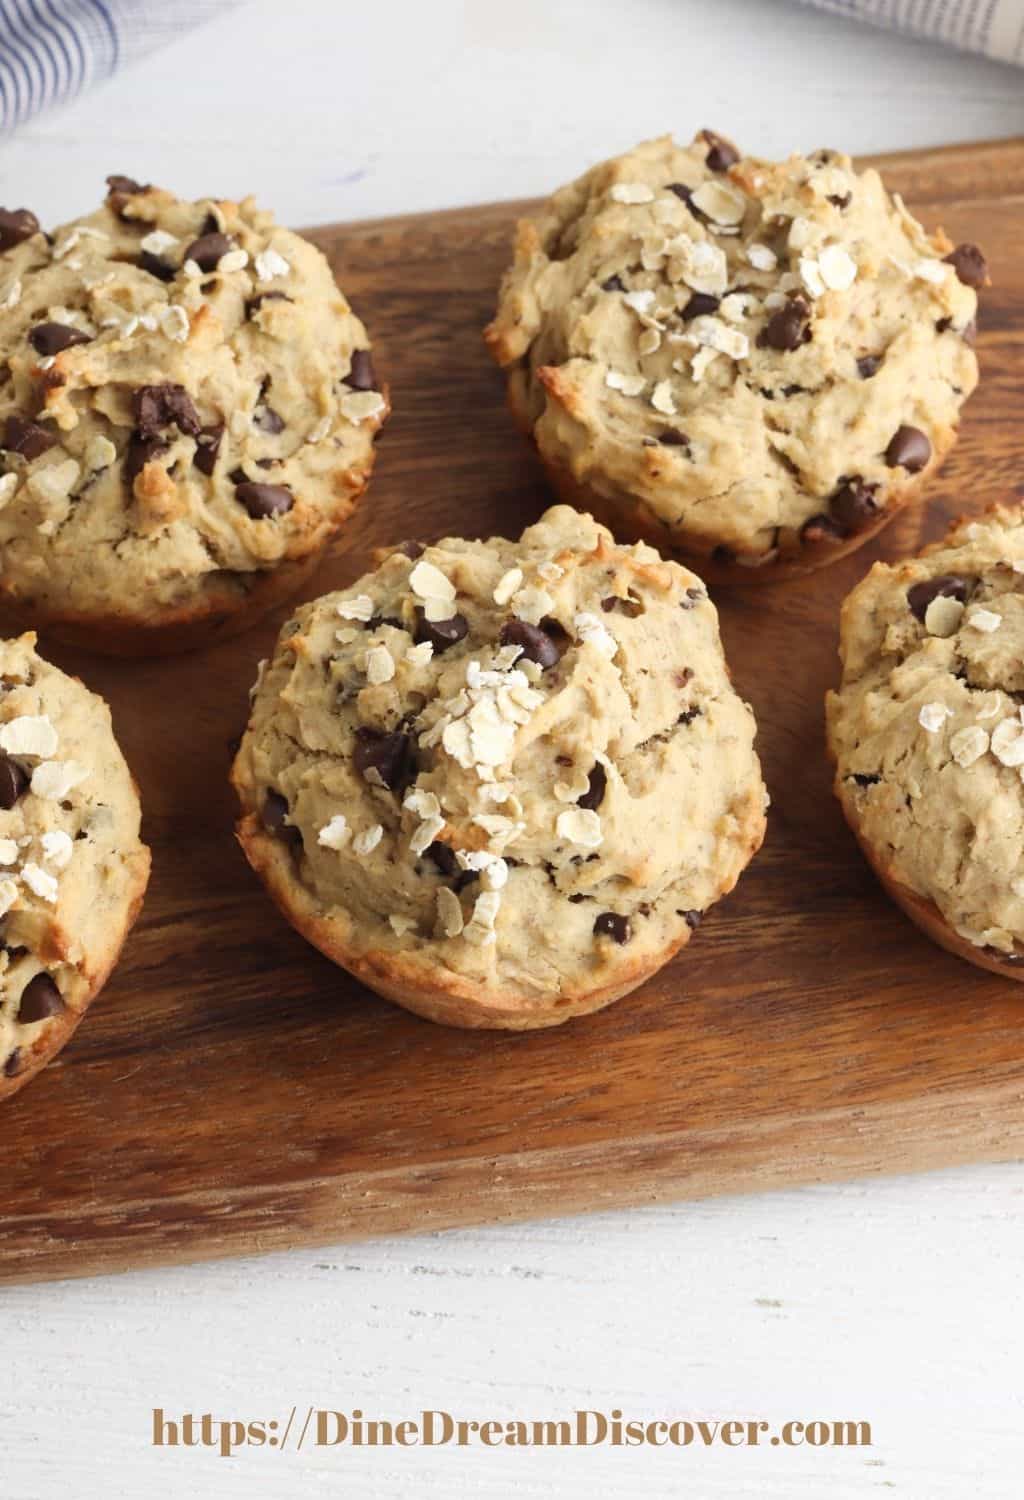
Additionally, you can add extra flavor and texture to your muffins by incorporating mix-ins such as chocolate chips, nuts, or dried fruit into the batter. Simply fold in the mix-ins after the batter is well-mixed, but be careful not to overmix as this can cause the muffins to become tough. With these tips, you can create perfectly baked and delicious muffins every time using your cast iron muffin tin.
Baking Your Muffins in a Cast Iron Muffin Tin
When it comes to baking your muffins, preheating your oven is essential. Make sure your oven is fully heated to the temperature indicated in your recipe before placing your cast iron muffin tin inside. You should also try not to open the door too often during baking, as this can cause fluctuations in temperature and lead to unevenly baked muffins. A good baking time for standard-sized muffins is around 20-25 minutes, but this can vary depending on the recipe. Always check for doneness by inserting a toothpick into the center of a muffin. If it comes out clean, the muffins are ready.
Using a cast iron muffin tin can have some benefits over traditional muffin tins. Cast iron is known for its ability to distribute heat evenly, which can result in perfectly baked muffins. Additionally, cast iron is a durable material that can last for generations with proper care. However, it's important to note that cast iron can take longer to heat up than other materials, so be sure to factor in some extra preheating time when using a cast iron muffin tin.
How to Remove Muffins from a Cast Iron Muffin Tin Without Sticking
To prevent your muffins from sticking to the cast iron muffin tin, it's essential to let them cool for a few minutes before trying to take them out. You can use a butter knife or silicone spatula to loosen the edges of the muffins from the tin, then gently lift them out of the wells. If you greased and floured the wells correctly, your muffins should come out easily and with minimal sticking.
Cleaning and Caring for Your Cast Iron Muffin Tin
After each use, it's important to clean your cast iron muffin tin thoroughly. Avoid using soap, as it can remove the non-stick coating that you've worked so hard to create. Instead, use hot water and a scraper or brush to remove any remnants of batter or grease. Dry the tin completely and apply a light coating of vegetable oil to the wells and edges to prevent rusting. Store your muffin tin in a dry place away from any moisture or humidity.
Recipes to Try with Your Cast Iron Muffin Tin
Now that you know how to use your cast iron muffin tin, why not try out some new recipes? You can make all sorts of muffins, from classic blueberry to chocolate chip, or even experiment with savory versions like cheese and herb muffins. You can also use your cast iron muffin tin to make mini quiches, frittatas, and even individual pot pies. The possibilities are endless!
Using a Cast Iron Muffin Tin for Meal Prep
If you're someone who likes to meal prep or pack your own lunches, a cast iron muffin tin can come in handy. You can use it to make individual egg cups, protein-packed muffins, or even mini meatloaves that can be frozen and reheated later. It's an excellent tool to have in your kitchen arsenal.
How to Store Your Cast Iron Muffin Tin Properly
When storing your cast iron muffin tin, it's important to prevent it from rusting. This can happen if it's exposed to moisture for an extended period. Make sure the tin is entirely dry before putting it away, and if you live in a particularly humid climate, consider storing it with a desiccant packet or a piece of paper towel to absorb any excess moisture.
Now that you know everything there is to know about using a cast iron muffin tin, it's time to get baking! Experiment with different recipes, shapes, and sizes and enjoy delicious, evenly baked muffins every time.


Leave a Reply