If you're an avid baker, chances are you have a trusty muffin tin in your kitchen arsenal. But what about using it for making tarts? Is that even possible? The answer is yes! In fact, a muffin tin can be a great tool for making individual-sized tarts that are perfect for entertaining or satisfying your sweet tooth. Let's explore the ins and outs of using a muffin tin for tarts.
Understanding the Difference Between Tarts and Muffins
Before we begin, let's establish the main differences between tarts and muffins. Tarts are typically small, single-serving desserts that are made with a pastry crust and a sweet or savory filling. Muffins, on the other hand, are a type of quick bread that is typically sweet and can be made with a variety of ingredients like fruit, nuts, and chocolate chips. While they may seem similar in terms of size and shape, the key difference between tarts and muffins is the crust.
Another important difference between tarts and muffins is the way they are served. Tarts are often served as a dessert or as a sweet treat with coffee or tea. They can be served warm or cold and are often topped with whipped cream or fresh fruit. Muffins, on the other hand, are typically served as a breakfast or brunch item. They are often eaten on their own or with a spread like butter or jam. While both tarts and muffins can be enjoyed at any time of day, their traditional serving times are quite different.
Selecting the Right Muffin Tin for Tart-Making
When it comes to making tarts in a muffin tin, the most important thing is to choose the right type of muffin tin. Look for a tin that has shallow cups and a non-stick coating to prevent the tarts from sticking to the surface. Silicone muffin tins are also a good option as they are flexible and make removing the tarts easier.
Another important factor to consider when selecting a muffin tin for tart-making is the size of the cups. If you want to make mini tarts, look for a muffin tin with smaller cups. On the other hand, if you want to make larger tarts, choose a muffin tin with bigger cups. It's important to note that the size of the cups will also affect the baking time of the tarts.
Additionally, consider the material of the muffin tin. While non-stick coatings are great for preventing sticking, they may not be the healthiest option. Consider using a stainless steel or aluminum muffin tin instead. These materials are durable and can withstand high temperatures, making them a great choice for baking tarts. Just be sure to grease the cups well before adding the tart dough to prevent sticking.
Preparing Your Muffin Tin for Tart-Making
Once you have your muffin tin, it's important to prepare it properly for tart-making. Start by greasing each cup lightly with cooking spray or butter. This will ensure that the tarts come out of the tin smoothly and without any damage to the crust.
Next, you can add a layer of flour or sugar to the greased cups. This will help absorb any excess moisture from the filling and prevent the crust from becoming soggy. Simply sprinkle a small amount of flour or sugar into each cup and shake the tin gently to distribute it evenly.
Creating a Tart Crust that Fits Perfectly in Your Muffin Tin
The key to making perfect tarts in a muffin tin is getting the crust just right. Start by making your favorite tart crust recipe, then divide the dough into equal portions and press each piece into a greased muffin cup, making sure to press the dough into the edges of the cup. Trim the excess dough with a knife or kitchen shears to create a clean edge.
Once you have your crusts ready, it's time to pre-bake them. This step is important to ensure that the crusts hold their shape and don't become soggy when you add the filling. Preheat your oven to 375°F and bake the crusts for 10-12 minutes, or until they are lightly golden brown.
Now that your crusts are pre-baked, it's time to add your filling. You can use any filling you like, from sweet to savory. Just be sure not to overfill the cups, as the filling will expand as it bakes. Bake your tarts for an additional 15-20 minutes, or until the filling is set and the crust is golden brown. Let the tarts cool in the muffin tin for a few minutes before removing them to a wire rack to cool completely.
Tips for Filling Your Muffin Tin with Tart Ingredients
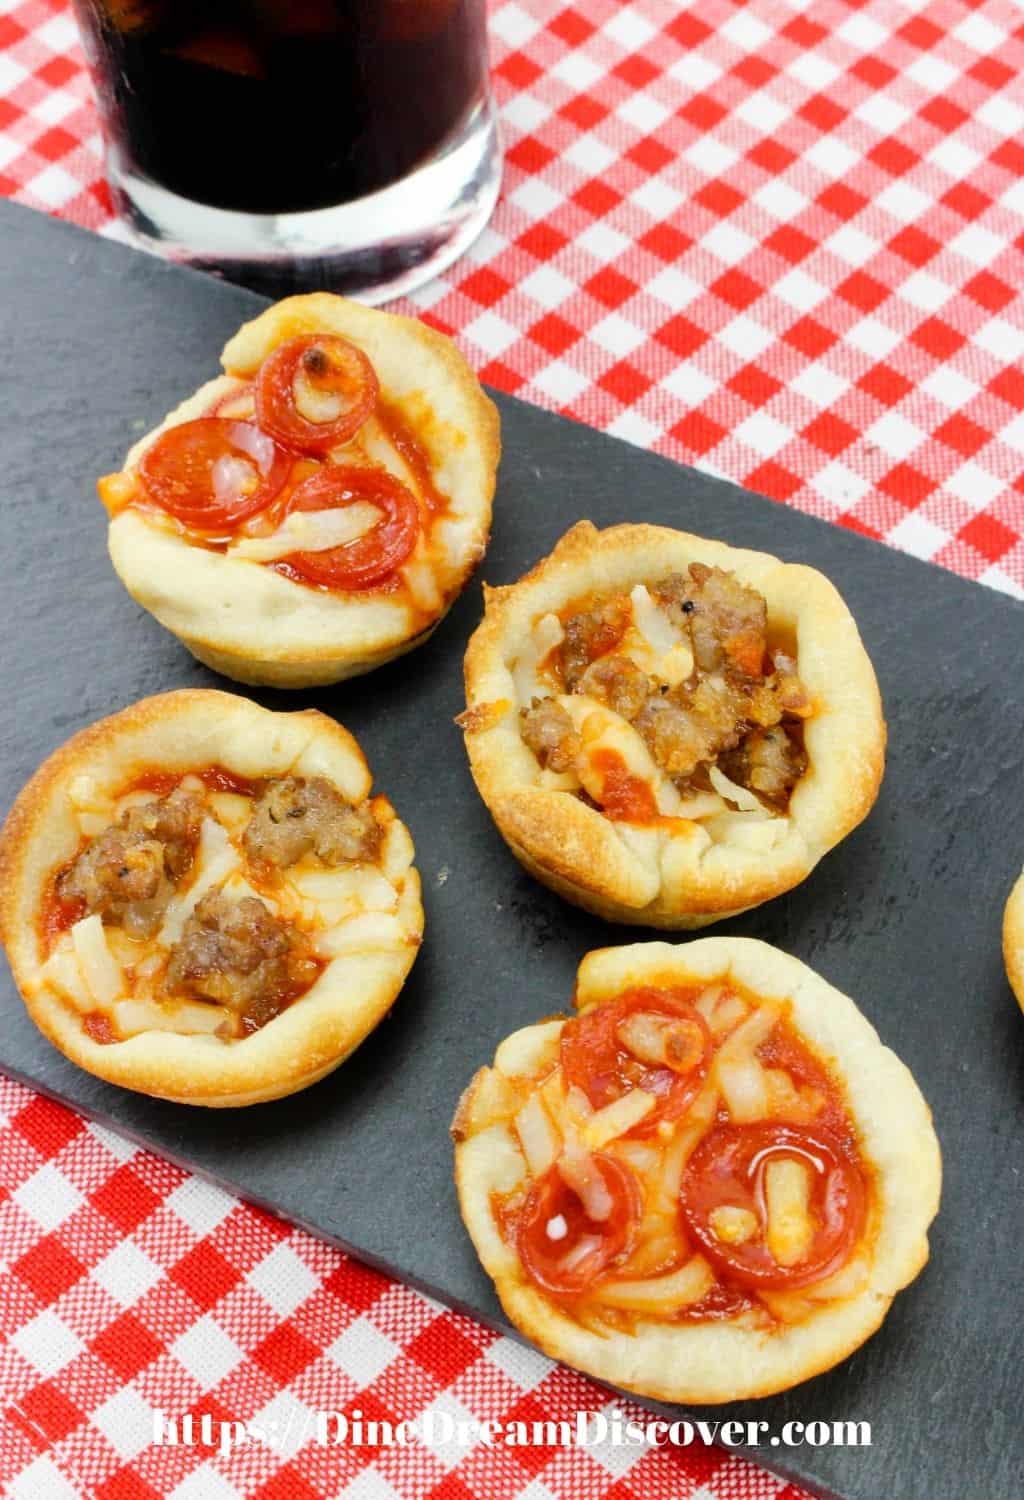
When it comes to filling your muffin tin with tart ingredients, the possibilities are endless. You can use a sweet filling like fruit compote, chocolate ganache, or custard, or go savory with options like quiche or tomato and cheese tarts. The key is to make sure that the filling doesn't overflow onto the crust, which can make it soggy. Start by adding a small amount of filling to each cup, then gradually add more until the cup is full.
Another important tip is to pre-bake the crust before adding the filling. This will help to ensure that the crust stays crispy and doesn't become soggy from the filling. Additionally, if you're using a liquid filling like custard or ganache, it's a good idea to let it cool slightly before pouring it into the crust. This will help to prevent the crust from becoming too soft and losing its shape. With these tips in mind, you'll be able to create delicious and perfectly filled tarts every time!
Mastering the Baking Process for Tart-Filled Muffin Tins
Once your muffin tins are filled with tart ingredients, it's time to bake them. Preheat the oven to the temperature in your recipe, then place the muffin tin on the center rack of the oven. Bake the tarts until the crust is golden brown and the filling is set. Keep an eye on them and test with a toothpick to ensure that they are fully cooked.
One important tip to keep in mind when baking tart-filled muffin tins is to avoid overfilling them. If the tarts are too full, the filling may spill over and make a mess in your oven. It's best to fill each muffin cup about ⅔ of the way full to ensure that they bake evenly and don't overflow.
Another helpful tip is to let the tarts cool in the muffin tin for a few minutes before removing them. This will allow them to set and firm up, making them easier to remove without falling apart. Use a small knife or offset spatula to gently loosen the edges of the tarts before popping them out of the muffin tin.
Removing Tarts from Your Muffin Tin Without Breaking Them
The final step is to remove the tarts from the muffin tin without breaking them. This can be a delicate process, but with the right technique, you can easily remove the tarts without causing any damage. Start by running a knife around the edge of each tart to loosen it from the muffin cup. Then, gently lift the tart out of the cup using a small spatula or your fingers. Be careful not to press too hard or the crust may break.
Another helpful tip is to let the tarts cool completely before attempting to remove them from the muffin tin. This will allow the crust to set and firm up, making it less likely to break or crumble. You can also try lightly greasing the muffin cups with cooking spray or butter before adding the crust to help prevent sticking.
If you're still having trouble removing the tarts, try placing the entire muffin tin in the refrigerator for a few minutes. The cold temperature will cause the crust to contract slightly, making it easier to remove the tarts without damaging them. With a little patience and practice, you'll be able to remove your tarts from the muffin tin with ease!
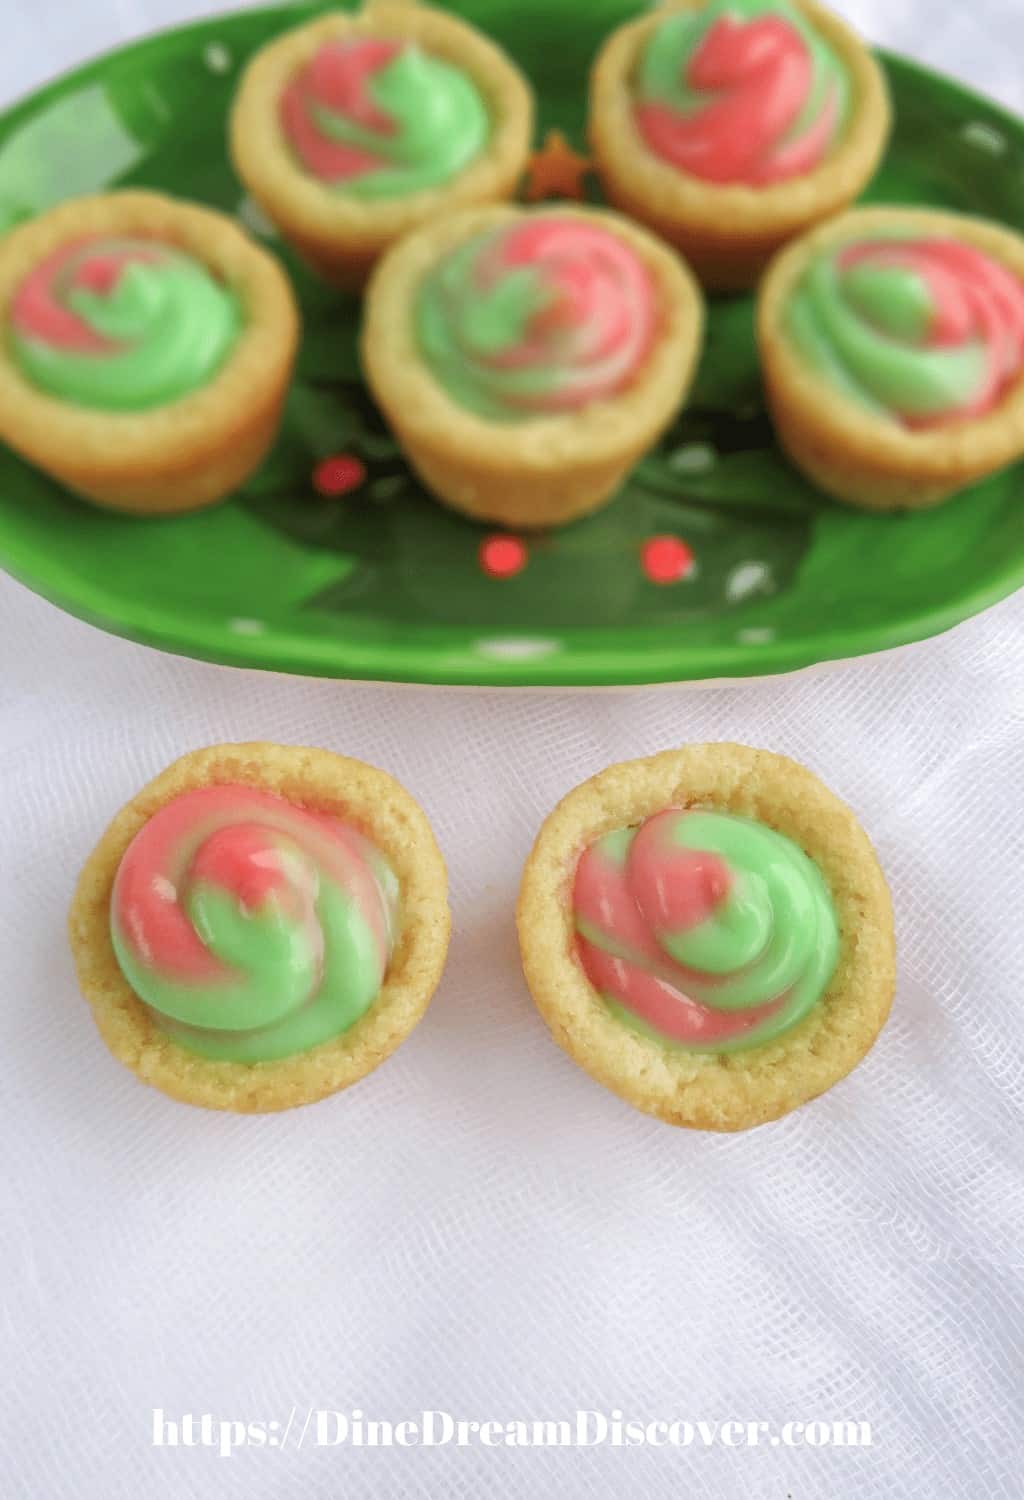
Experimenting with Creative Tart Fillings in Your Muffin Tin
Now that you've mastered the basics of making tarts in a muffin tin, it's time to get creative with your fillings. Try experimenting with different flavor combinations by using seasonal fruit, spices, or other unique ingredients. You can even try making mini pies with a lattice crust or decorative cut-outs.
One fun idea is to make savory tarts by using ingredients like cheese, bacon, or vegetables. You can also try adding a layer of chocolate or caramel to the bottom of your tarts for an extra indulgent treat. Don't be afraid to mix and match flavors to create your own unique tart recipes.
If you're feeling adventurous, you can even try making gluten-free or vegan tarts by using alternative flours and dairy-free substitutes. This is a great way to accommodate dietary restrictions and still enjoy delicious homemade tarts.
Cleaning and Maintaining Your Muffin Tin After Making Tarts
After you've finished baking your tarts, it's important to clean and maintain your muffin tin properly. Start by soaking the tin in hot, soapy water for a few minutes to loosen any remaining filling or crust. Then, use a soft sponge or brush to gently scrub the surface of the tin, being careful not to scratch the non-stick coating. Rinse the tin thoroughly with water and dry it completely before storing it away.
With these tips and tricks, you can easily use your muffin tin to make perfect, individual-sized tarts. Whether you're entertaining guests or simply satisfying your own sweet tooth, tarts in a muffin tin are a fun and easy way to bake up something delicious.
It's also important to note that you should never use abrasive cleaners or steel wool on your muffin tin, as this can damage the non-stick coating and cause your tarts to stick. Additionally, if you notice any scratches or chips in the coating, it's time to replace your muffin tin to ensure that your baked goods come out perfectly every time.


Leave a Reply