If you're looking for a quick and easy way to make delicious muffins, look no further than your freezer. Thawing frozen biscuits and using them in muffin tins is a simple and time-saving technique that can yield some truly amazing results. Whether you're looking for sweet or savory muffin ideas, we've got you covered with these 10 easy steps to make delicious muffins with thawed frozen biscuits.
10 easy steps to make delicious muffins with thawed frozen biscuits
Step 1: Preheat your oven to 375°F.
Step 2: Grease your muffin tin with cooking spray or butter.
Step 3: Thaw your frozen biscuits according to package instructions.
Step 4: Once thawed, cut each biscuit in half.
Step 5: Flatten each half slightly with your hand or a rolling pin.
Step 6: Press each half into a muffin cup, shaping it to the sides and bottom of the cup.
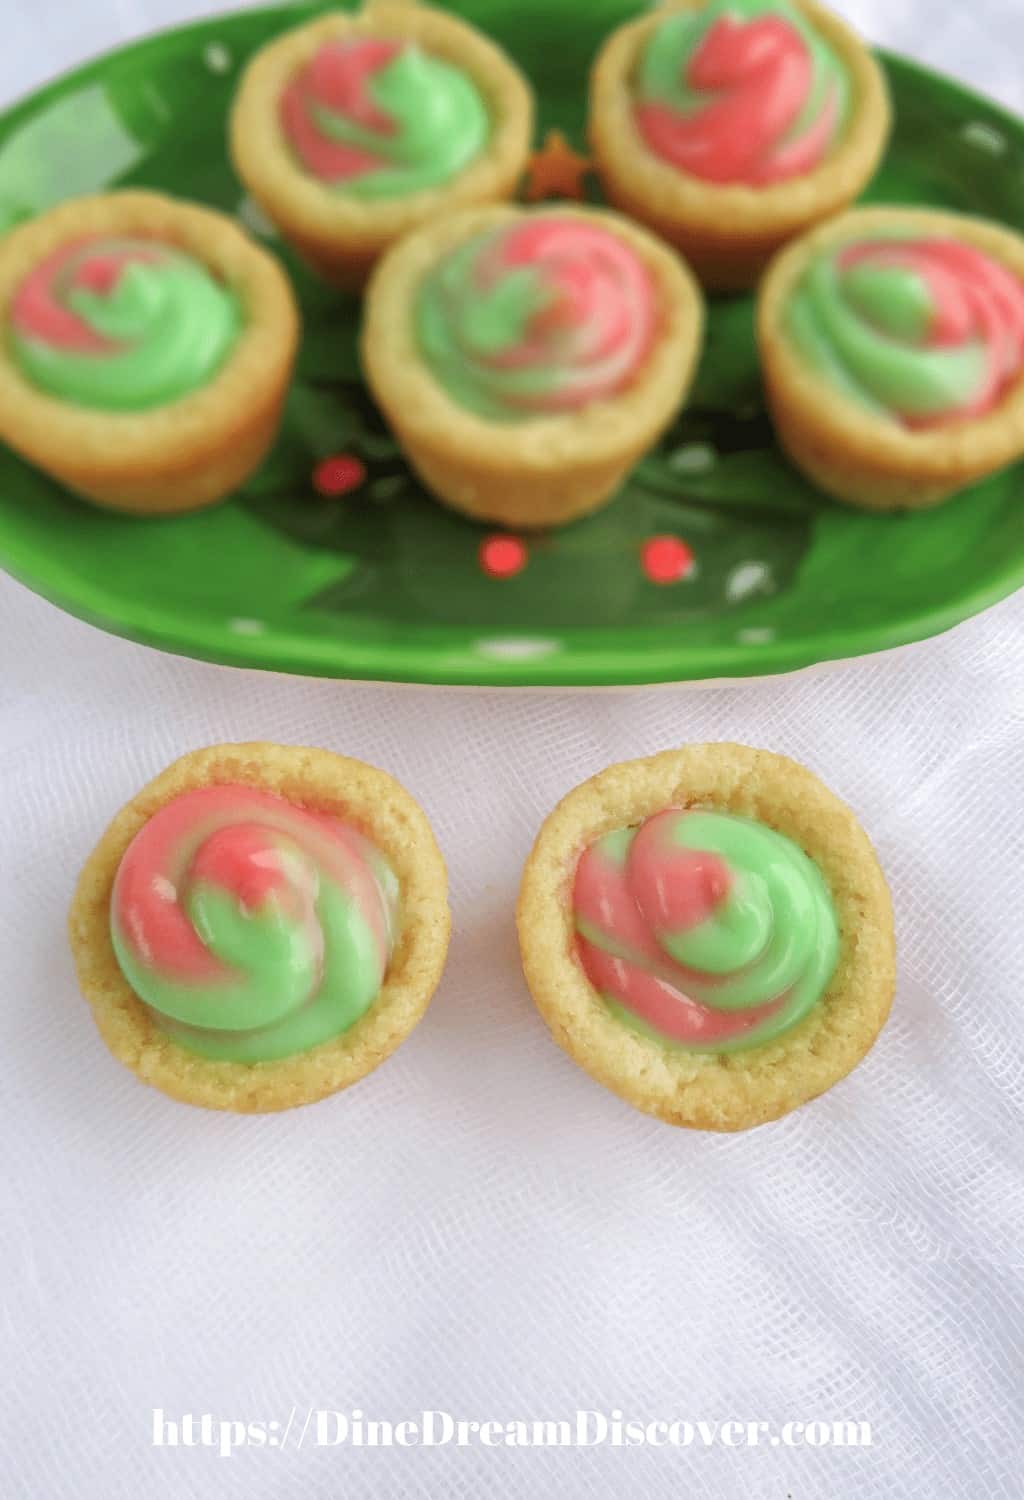
Step 7: Fill each biscuit cup with your desired fillings, such as cheese, vegetables, fruit, or spices.
Step 8: Bake in the preheated oven for 15-20 minutes, or until the muffins are golden brown and cooked through.
Step 9: Remove from the oven and let cool for a few minutes before removing from the muffin tin.
Step 10: Serve warm and enjoy!
Additional Information:
Step 11: To add a sweet twist to your muffins, try filling them with chocolate chips, cinnamon, or brown sugar.
Step 12: For a savory option, fill your muffins with cooked bacon, sausage, or diced ham.
Biscuit muffin ideas: sweet and savory recipes to try today
Now that you know how to make muffins with thawed frozen biscuits, it's time to get creative with your fillings. Here are some delicious sweet and savory ideas to try:
- Bacon and egg: Fill the biscuit cups with cooked bacon and beaten eggs.
- Spinach and feta: Mix spinach, feta cheese, and diced onions and fill the cups with the mixture.
- Blueberry and cream cheese: Fill the cups with cream cheese and blueberries for a sweet breakfast treat.
- BBQ chicken: Shred cooked chicken and mix with BBQ sauce, then fill the cups with the mixture.
- Apple pie: Mix diced apples, cinnamon, and sugar, and fill the cups with the mixture for a sweet dessert muffin.
The possibilities are endless when it comes to biscuit muffins, so feel free to get creative with your fillings!
If you're looking for a healthier option, try filling the biscuit cups with veggies like bell peppers, mushrooms, and zucchini. You can also add some shredded cheese for extra flavor.
For a more indulgent option, try filling the cups with Nutella and sliced bananas or peanut butter and jelly.
Don't be afraid to experiment with different combinations of flavors and ingredients. Biscuit muffins are a versatile and easy-to-make treat that can be enjoyed any time of day!
Tips for thawing frozen biscuits perfectly before using them in muffin tins
Thawing frozen biscuits is a crucial step in making muffins with this technique. Here are some tips for thawing biscuits perfectly:
- Follow the package instructions for thawing the biscuits, and never use them when they're still frozen.
- Leave the biscuits in the fridge overnight to thaw slowly, or place them on a plate and cover with a damp cloth for 1-2 hours to thaw more quickly.
- Never microwave frozen biscuits to thaw them, as this can result in unevenly thawed dough.
By taking the time to thaw your biscuits properly, you'll ensure that they bake up perfectly in your muffin tin.
It's important to note that once the biscuits are thawed, you should handle them as little as possible to prevent them from becoming tough. Avoid pressing or flattening them, and gently handle them when placing them in the muffin tin. Additionally, if you're using a non-stick muffin tin, it's a good idea to lightly grease the cups with cooking spray or butter to prevent sticking.
How to make your own frozen biscuit dough for muffin tin baking
If you want to take your muffin-making to the next level, consider making your own frozen biscuit dough to use in your muffin tins. Here's how:
- In a large bowl, whisk together 2 cups of all-purpose flour, 1 tablespoon of baking powder, and ½ teaspoon of salt.
- Grate in 6 tablespoon of cold unsalted butter and use a pastry cutter or your fingers to work the butter into the dry ingredients until the mixture resembles coarse crumbs.
- Stir in ¾ cup of buttermilk until a shaggy dough forms.
- Turn the dough out onto a floured surface and knead gently until it comes together into a smooth ball.
- Roll the dough out to ½ inch thickness and cut out circles with a biscuit cutter or drinking glass.
- Place the circles onto a lined baking sheet and freeze for 1-2 hours until solid.
- Once frozen, transfer the circles to a zip-top bag and store in the freezer for up to 3 months.
Using your own frozen biscuit dough allows you to mix and match fillings to your heart's content!
One great filling option is to add shredded cheese and diced ham to the biscuit dough circles before placing them in the muffin tin. This creates a savory breakfast muffin that is perfect for on-the-go mornings.
Another option is to add fresh berries and a sprinkle of sugar to the biscuit dough circles before baking. This creates a sweet and fruity muffin that is perfect for a weekend brunch or dessert.
The best type of muffin tin to use for frozen biscuit dough
When it comes to making muffins with frozen biscuit dough, the type of muffin tin you use can make a big difference. Here are some factors to consider:
- Use a non-stick muffin tin to prevent sticking and help the muffins bake evenly.
- Opt for a standard-size muffin tin with 12 cups, as this will yield muffins that are just the right size.
- Avoid silicone muffin tins, as they can result in muffins that don't brown properly.
- If you prefer jumbo-sized muffins, use a jumbo muffin tin with 6 cups instead.
No matter what type of muffin tin you use, be sure to grease it well before filling with your thawed biscuit dough.
Another important factor to consider when using frozen biscuit dough to make muffins is the temperature of your muffin tin. It's best to use a muffin tin that is at room temperature or slightly warm, as this will help the dough to thaw and rise properly. If your muffin tin is too cold, the dough may not rise as much and your muffins may turn out dense and heavy. To warm up your muffin tin, simply place it in a warm oven for a few minutes before filling with your thawed biscuit dough.
Creative ways to serve biscuit muffins for breakfast, lunch, and dinner
Biscuit muffins aren't just for breakfast! Here are some creative ways to enjoy them throughout the day:
- Top with a dollop of whipped cream and serve for dessert.
- Stuff with ham and cheese for a portable lunch option.
- Top with scrambled eggs and avocado for a hearty breakfast muffin.
- Fill with mashed potatoes and gravy for a fun dinner side dish.
- Dip in melted chocolate for a fun dessert option.
Feel free to experiment with different fillings and toppings to suit your taste!
Another great way to enjoy biscuit muffins is to stuff them with your favorite breakfast meats, such as bacon or sausage, and top with a fried egg for a delicious breakfast sandwich.
If you're looking for a healthier option, try filling your biscuit muffins with fresh veggies and a light dressing for a tasty and nutritious lunch.
For a sweet and savory twist, try filling your biscuit muffins with a mixture of cream cheese and fruit preserves, such as strawberry or raspberry, for a delicious brunch option.
How to store leftover biscuit muffins and reheat them for later use
If you have leftover biscuit muffins, don't worry! They can easily be stored and reheated for later use. Here's how:
- Store leftover muffins in an airtight container in the fridge for up to 3 days.
- To reheat, wrap the muffin in a damp paper towel and microwave for 30 seconds to 1 minute, or until heated through.
- Alternatively, reheat in the oven at 350°F for 5-10 minutes, or until heated through.
With these tips, you'll be able to enjoy biscuit muffins any time of day, even if you made them in advance!
It's important to note that if you plan on freezing your leftover biscuit muffins, you should wrap them tightly in plastic wrap or aluminum foil before placing them in an airtight container or freezer bag. This will help prevent freezer burn and keep the muffins fresh for up to 3 months. When you're ready to enjoy them, simply thaw them in the fridge overnight and reheat using one of the methods mentioned above.
Gluten-free options for making biscuit muffins with thawed frozen dough
If you're following a gluten-free diet, you can still enjoy biscuit muffins by using a gluten-free flour blend in place of all-purpose flour. Here's a simple recipe:
- Whisk together 1 cup of gluten-free flour blend with 1 teaspoon of baking powder and ¼ teaspoon of salt.
- Cut in 3 tablespoon of cold unsalted butter until the mixture resembles coarse crumbs.
- Stir in ⅓ cup of milk until a dough forms.
- Roll out and cut circles as directed in our homemade biscuit dough recipe above.
With this gluten-free option, you can still enjoy all the delicious flavors and textures of biscuit muffins without any gluten!
Another option for making gluten-free biscuit muffins is to use almond flour instead of all-purpose flour. Almond flour is a great alternative for those who are gluten intolerant or have celiac disease. Here's a simple recipe:
- Mix 2 cups of almond flour with ½ teaspoon of baking soda and ¼ teaspoon of salt.
- In a separate bowl, whisk together 2 eggs, ¼ cup of melted butter, and ¼ cup of honey.
- Combine the wet and dry ingredients until a dough forms.
- Roll out and cut circles as directed in our homemade biscuit dough recipe above.
These almond flour biscuit muffins are not only gluten-free but also low-carb and high in protein.
If you're looking for a vegan option, you can use a combination of gluten-free flour and non-dairy milk. Here's a simple recipe:
- Whisk together 1 cup of gluten-free flour blend with 1 teaspoon of baking powder and ¼ teaspoon of salt.
- Cut in 3 tablespoon of cold vegan butter or coconut oil until the mixture resembles coarse crumbs.
- Stir in ⅓ cup of non-dairy milk until a dough forms.
- Roll out and cut circles as directed in our homemade biscuit dough recipe above.
These vegan biscuit muffins are not only gluten-free but also dairy-free and egg-free.
Time-saving tips for preparing a large batch of biscuit muffins at once
If you're planning to make a large batch of biscuit muffins, there are some time-saving tips you can use to make the process go smoothly:
- Use two muffin tins and bake them at the same time to cut down on bake time.
- Make your own frozen biscuit dough ahead of time and freeze it in batches for quick and easy muffin-making anytime.
- Set up a muffin-making station with all your prepped fillings and tools within arm's reach to streamline the process.
- Double or triple the recipe to make a large batch that can be stored and reheated for later use.
With these tips, you'll be able to make plenty of biscuit muffins for all your breakfast, lunch, and dinner needs!


Leave a Reply