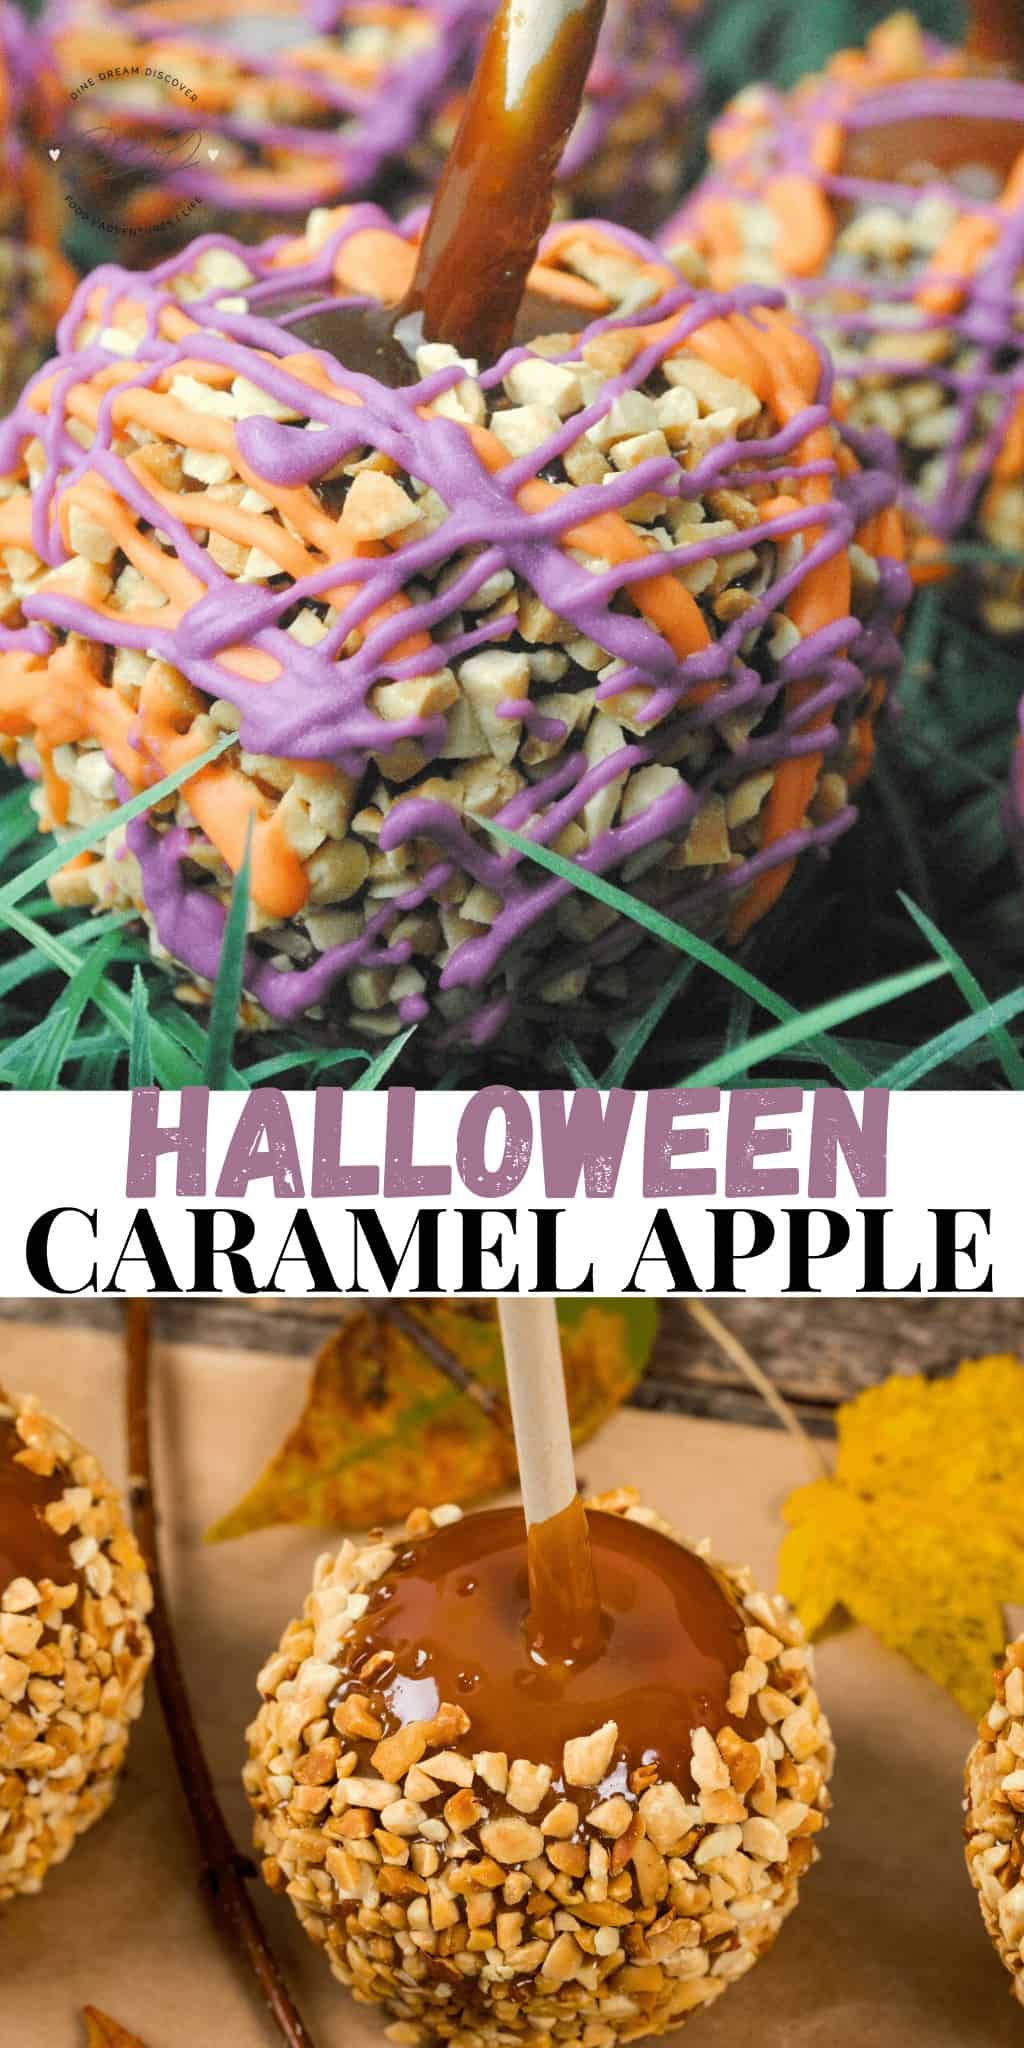
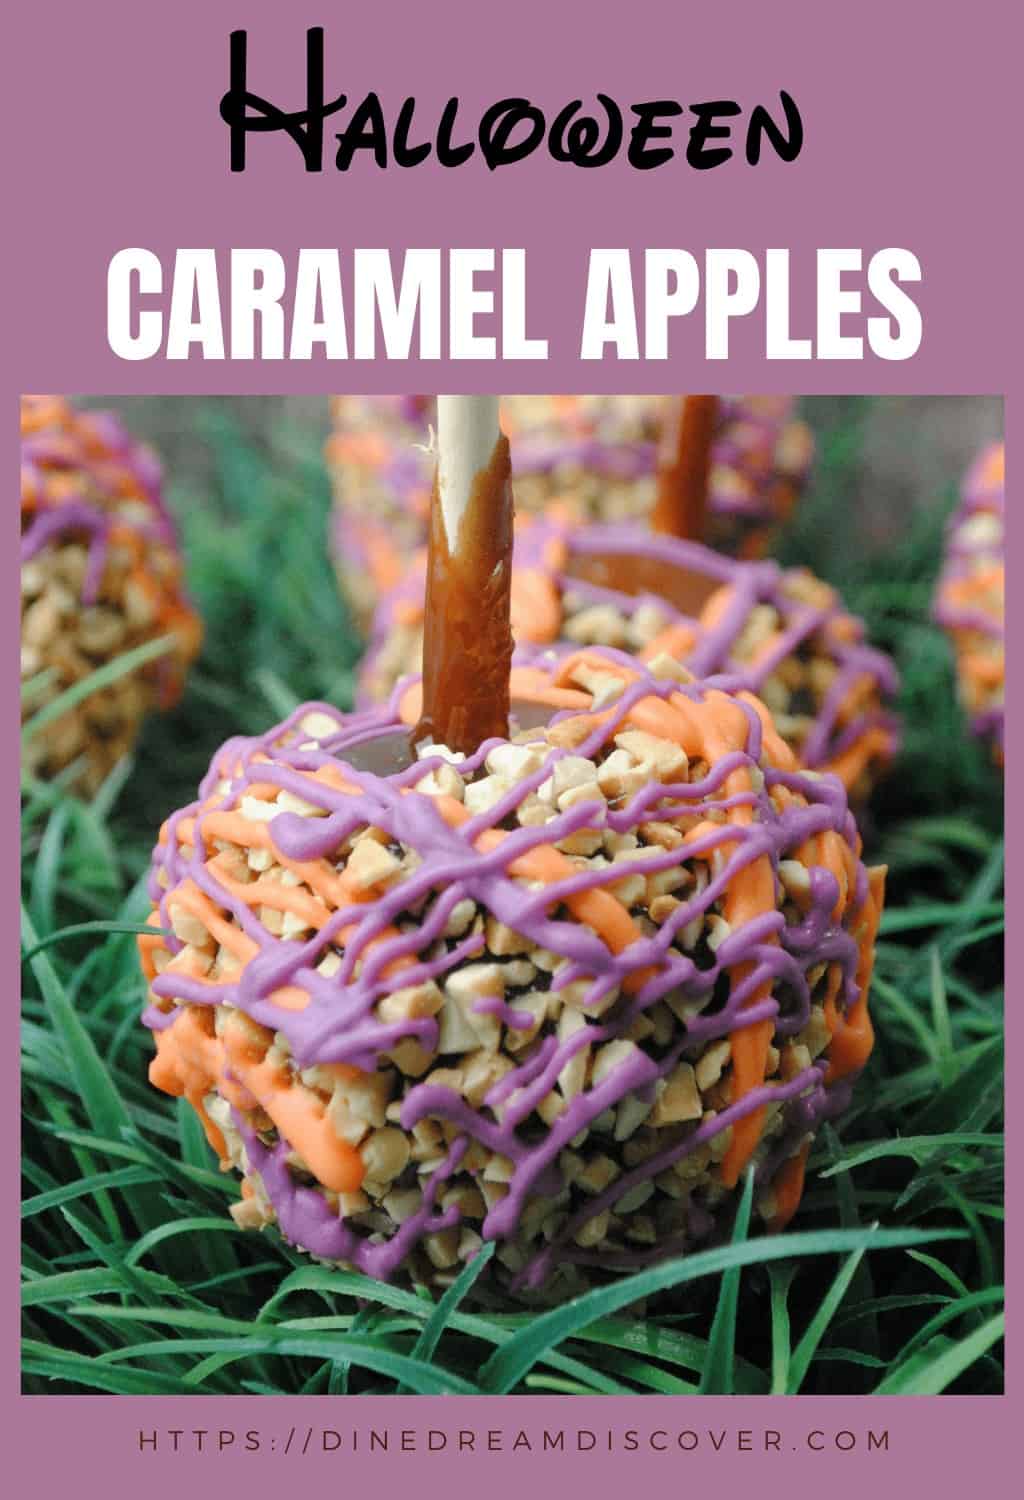
A scrumptious Caramel Apple all decked out for Halloween with caramel, peanuts and chocolate swirls. The perfect treat for your Halloween party.
This post may contain affiliate links. See my disclosure policy for more info.
Halloween Caramel Apple Recipe
Who doesn't love a good old fashioned caramel apple? Plus one that's all decked out for Halloween. These make the perfect treat for your Halloween party or Trunk or Treat.
Apple Caramel Ingredients
- Granny Smith Apples or Gala apples, large
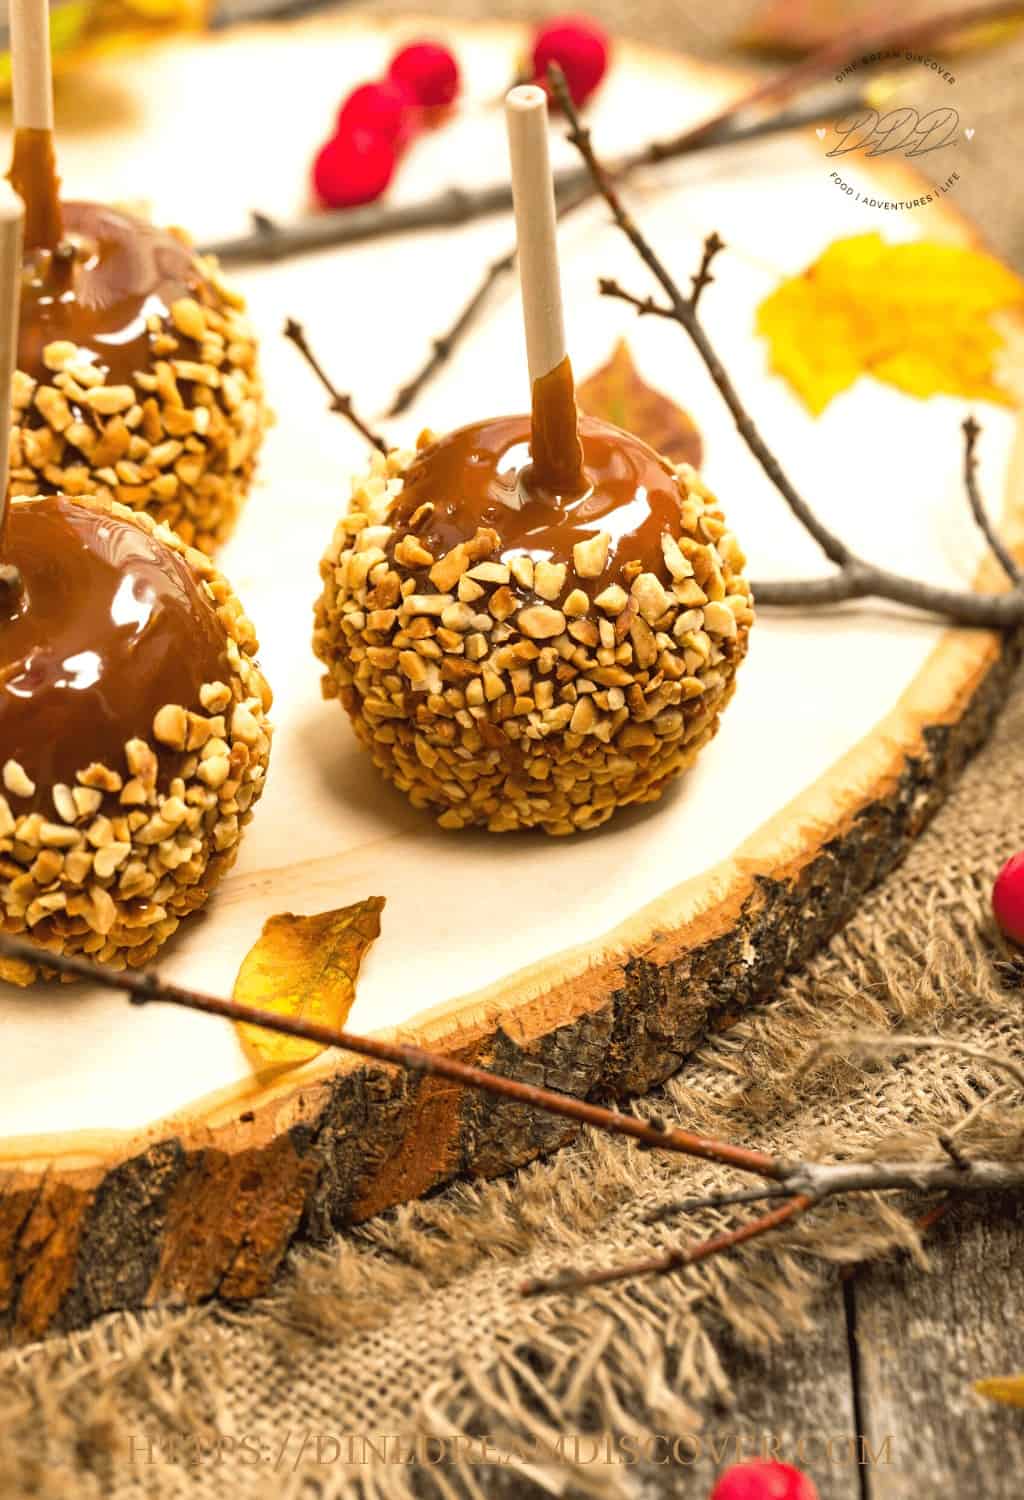
- Caramels

- Water
- Candy sticks
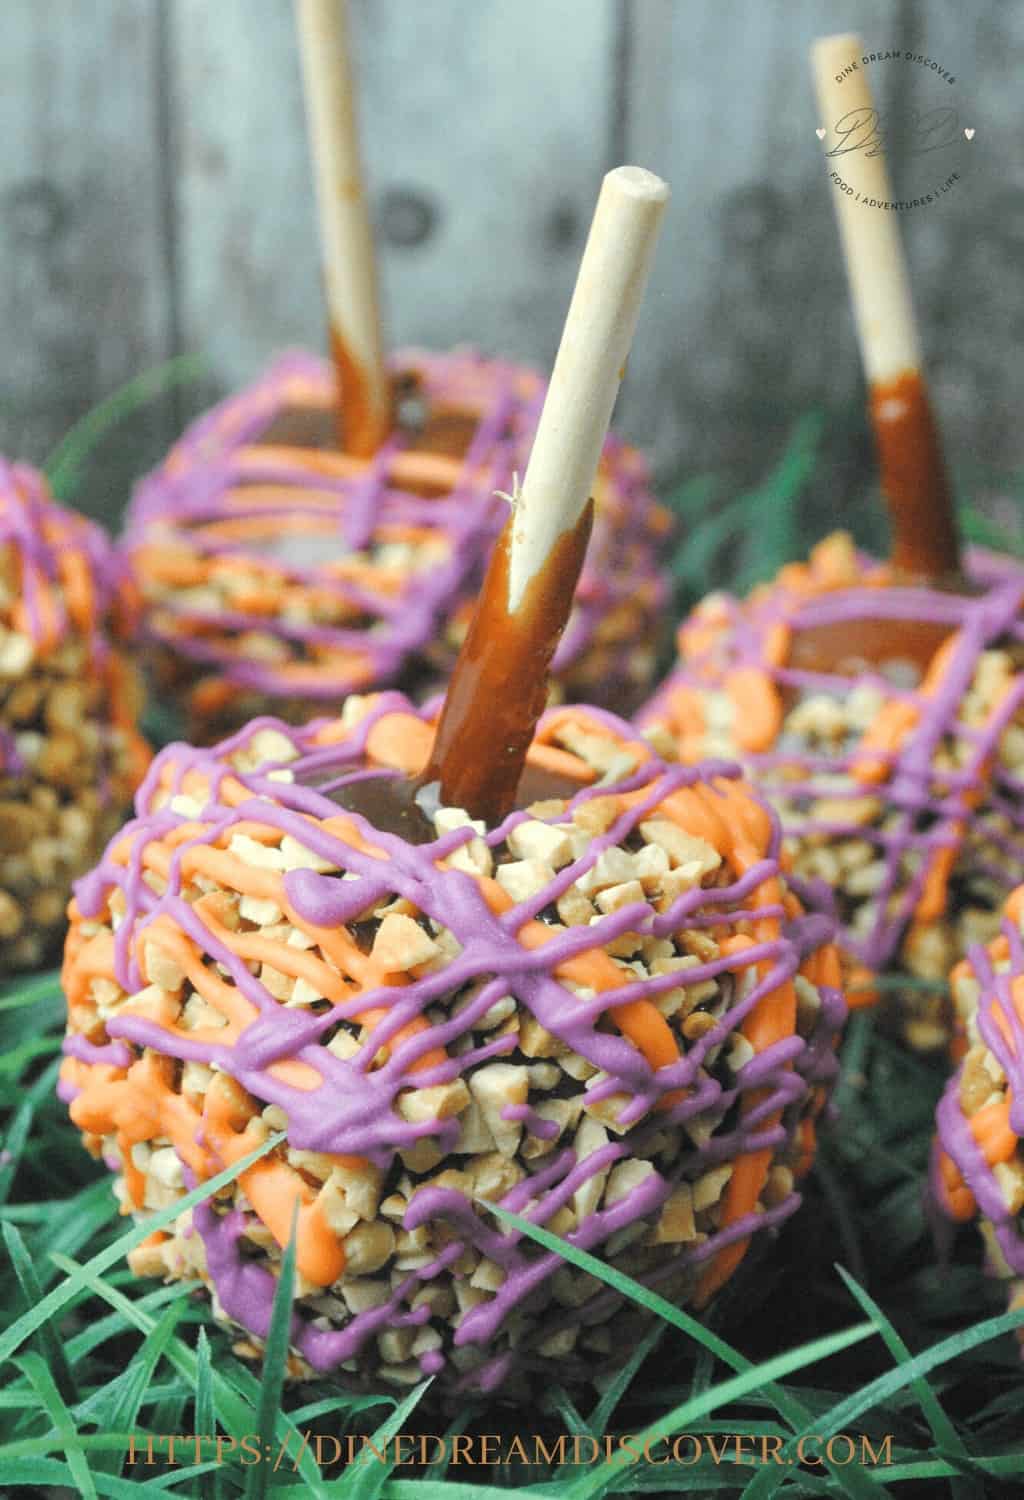
- Chopped peanut bits
- Orange candy melts
- Purple candy melts
- **For exact amounts, please see recipe card below


How to Make Professional Caramel Apples
Grocery store apples have a wax coating. You will want to remove the coating before starting to make the caramel apples.
The easiest way to remove the wax coating is to dip your apples in a pot of boiling water for a short amount of time. When you remove the apples, one at a time, from the pot of water, use a rough cloth to wipe the remaining wax off of the apples.
Set aside to allow your apples to cool. (Make sure that your apples are dry). Push a stick into the core of each of the apples. Cover each of your cookie sheets with wax paper or parchment paper, taping down each end. Spray the lined cookie sheets with baking spray.
Next Step
Next, unwrap your caramels and put them in a glass bowl with 2 tablespoons of water and put it in your microwave.
This is the time-consuming part, put the bowl of caramels and water in your microwave cooking on heat for 2 minutes, stir and then return to the microwave for another minute, continue repeating this process until the caramel is fully melted.
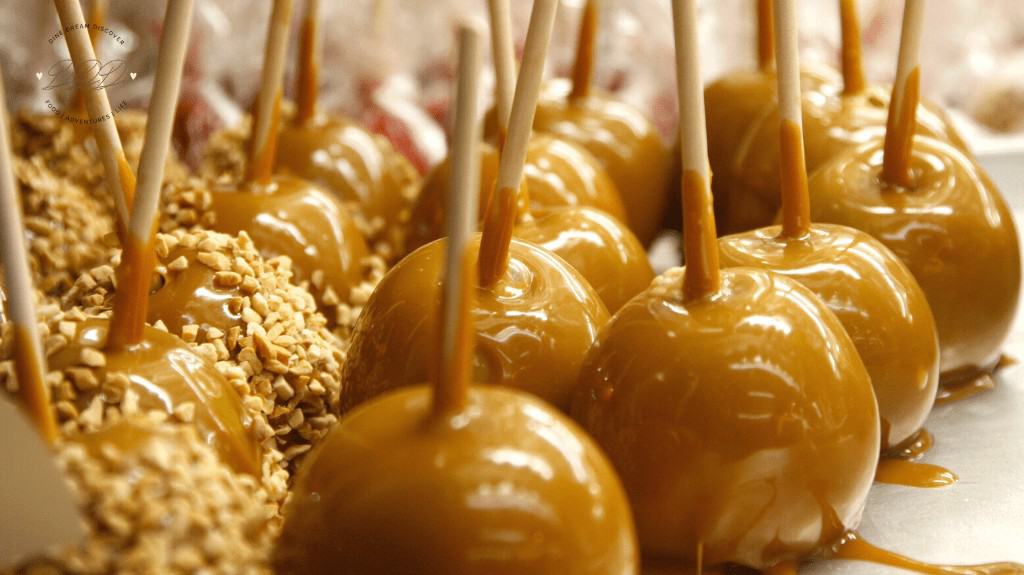
Pick up each apple by the candy stick with a fork under the bottom of the apple dipping it into the melted caramel. If necessary use a spoon to cover the apple with the caramel. They also sell these caramel apple branch sticks that look cool.
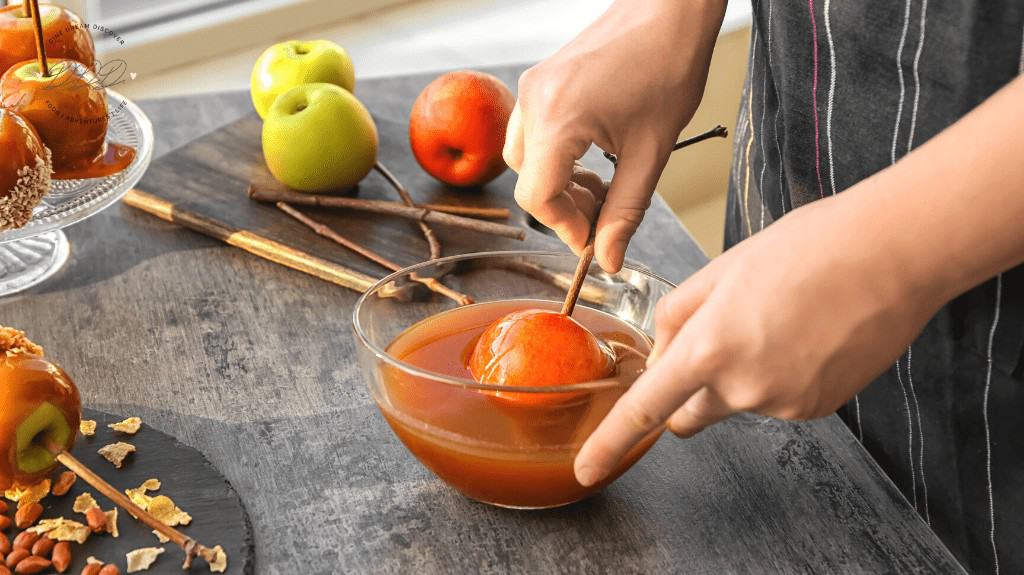
Place each dipped apple on the wax paper lined cookie sheet. When your apples are done place in your refrigerator to cool for about 5 minutes.
Once out of the Refrigerator
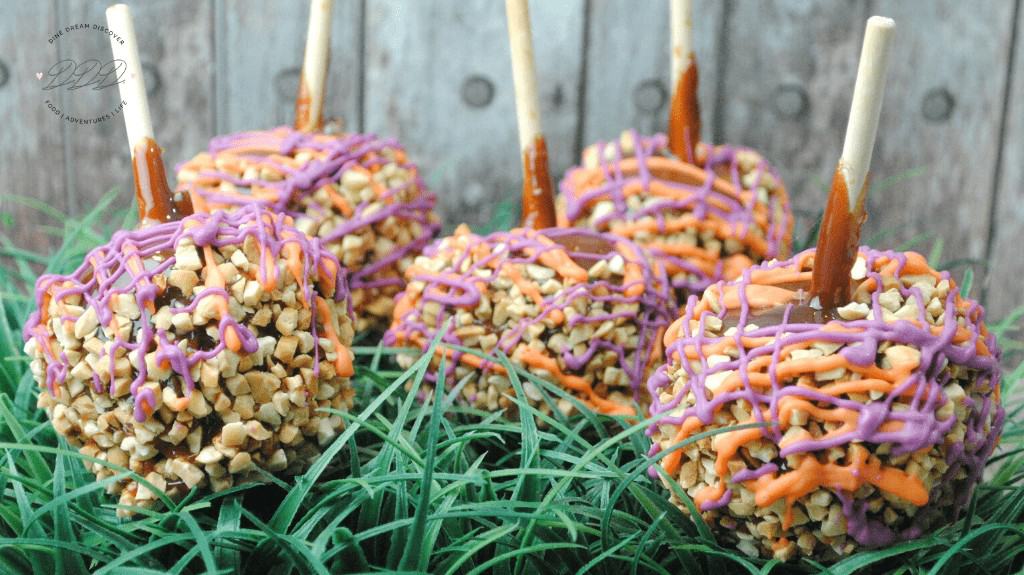
Dip each caramel covered apple into the bowl of peanut bits and roll the sides of the apple in the apple bits. Place back on the wax paper.
Return to the refrigerator for 15 minutes or until the candy is firm on the apples.

Melt the purple and orange candy melts in separate bowls in the microwave, one at a time. When the orange candy is melted completely (following the previous steps) pour it into a plastic squeeze bottle and drizzle each apple and set aside to cool in the refrigerator.
Next, melt the purple candy melts and pour it into another plastic squeeze bottle and drizzle the purple candy on each apple. Return to the refrigerator until the purple melted candy is hardened.
Follow us on Pinterest and PIN IT FOR LATER!


Leave a Reply