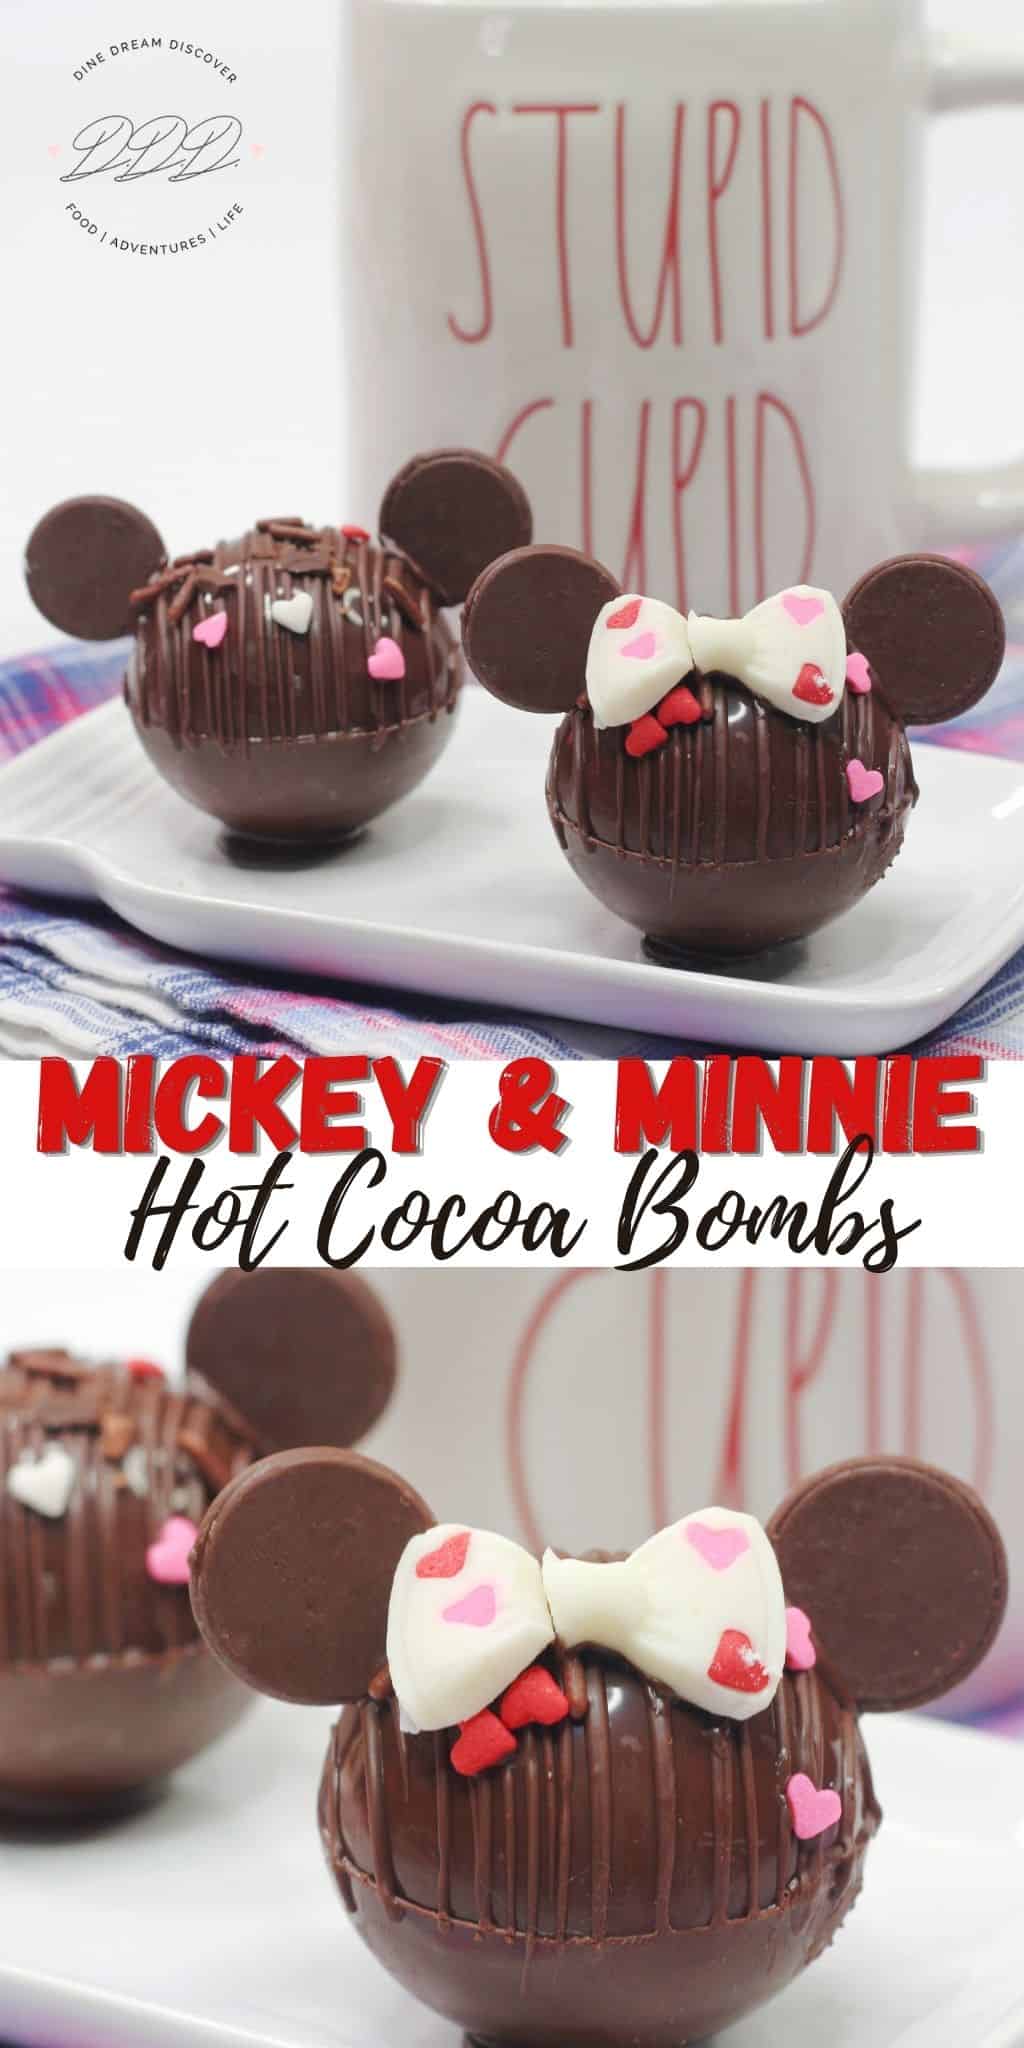
Who wouldn't love a cute set of our Disney favorites for Valentine's Day, Mickey and Minnie Hot Cocoa Bombs.These make simple but great gifts and everyone who receives them will love them.
This post may contain affiliate links. See my disclosure policy for more info.
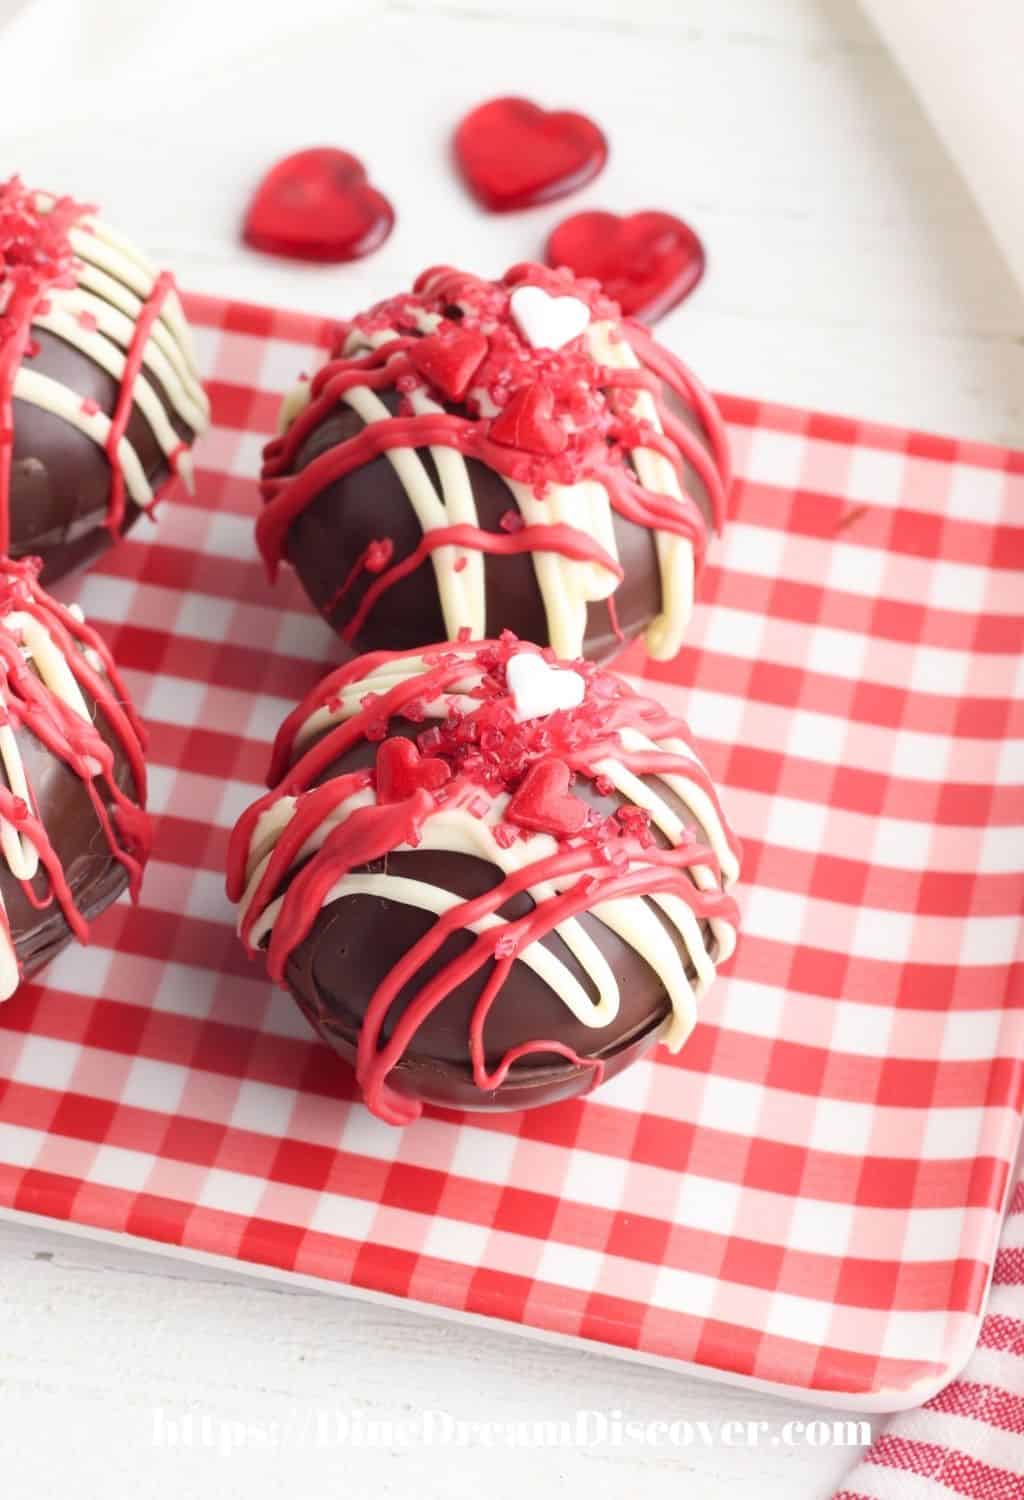
Mickey and Minnie Hot Cocoa Bombs
Seeing as Hot Cocoa Bombs have been all the rage for awhile, I figured I should probably jump on the bandwagon too, 😂. Today we are sharing our second set of cocoa bombs with none other than Mickey and Minnie Hot Cocoa Bombs. Our first set was a Pink Valentine's Day Hot Chocolate Bomb.
Who wouldn't love a cute set of our Disney favorites for Valentine's Day. These make simple but great gifts and everyone who receives them will love them.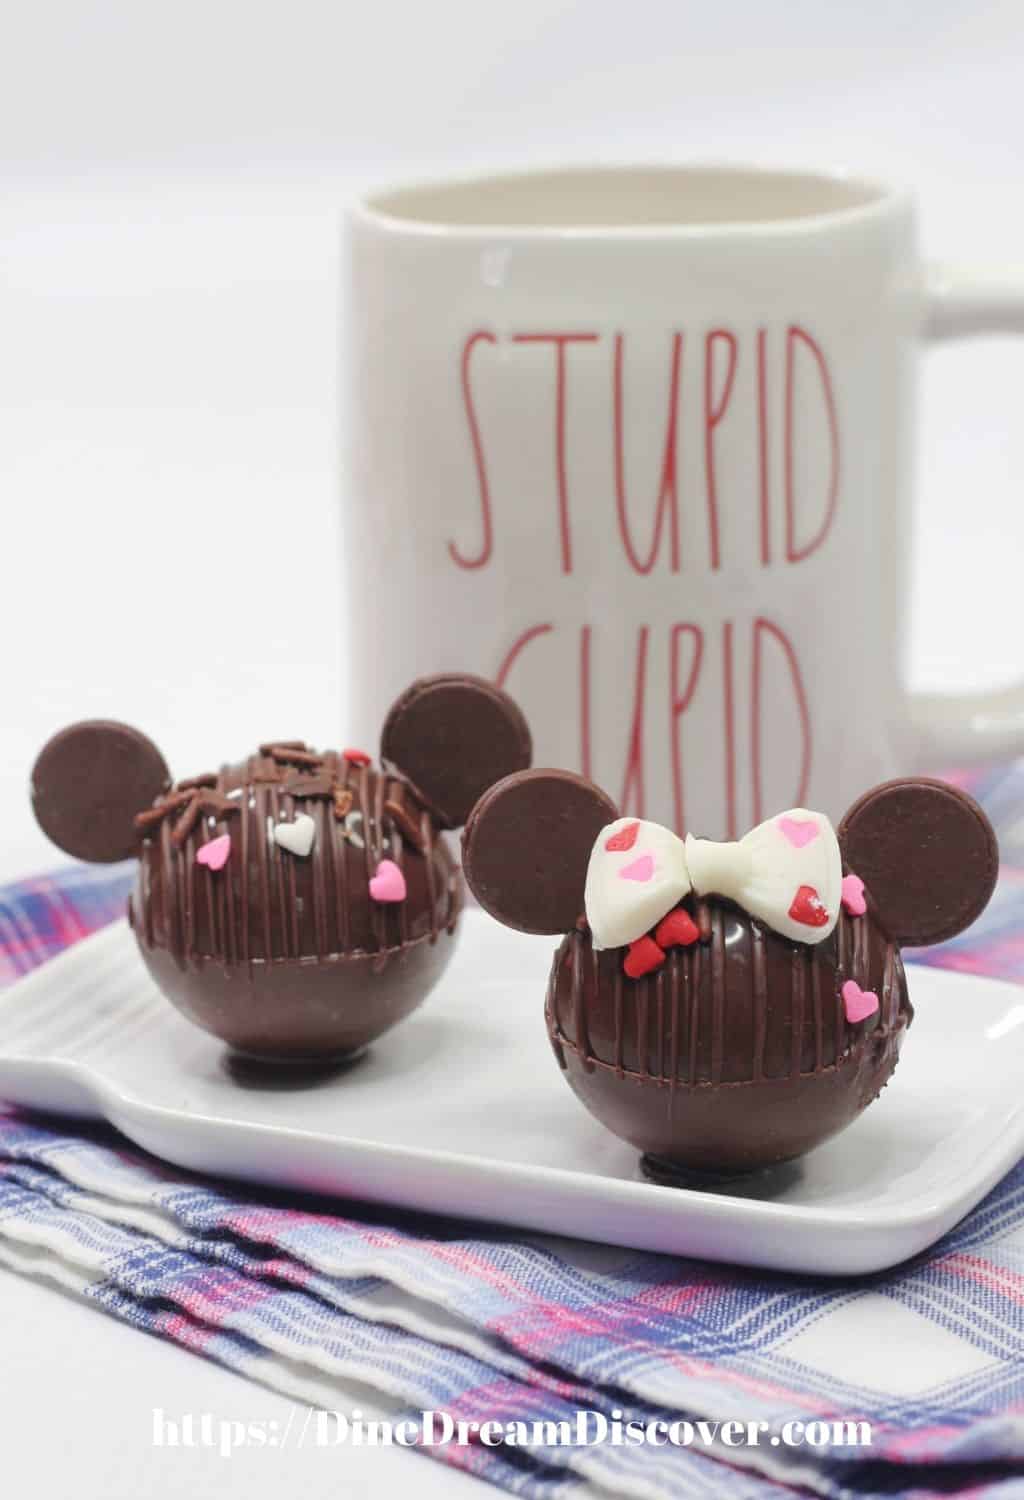
Makes 8-10 Hot Cocoa Bombs
Mickey and Minnie Ingredients
- Silicone Sphere Molds

- Ghirardelli Milk Chocolate melting wafers
- Hot cocoa mix
- Disposable piping bag
- Cookie sheet fitted with wax paper or parchment paper
- Mini Marshmallows
- Valentine's Day Sprinkles
- Valentine’s Day Chocolate Bows (Local bakery can provide some)
- For exact amounts, please see recipe card below.


 fitted with wax paper or


 (Local bakery can provide some)
How to Make Minnie and Minnie Hot Chocolate Bombs
Remove about 16-20 size matching pieces of the melting wafers and set aside.
Using a heat safe bowl , pour into the bowl and place the remaining of the Ghirardelli melting wafers
 in the microwave for 45 second intervals. Make sure to stir the chocolate after each 45 seconds until completely melted and smooth.
Using a spoon, spoon about 1-2 tablespoon of the chocolate into the mold.
Carefully swirl the chocolate to completely coat the inside of the mold .
.
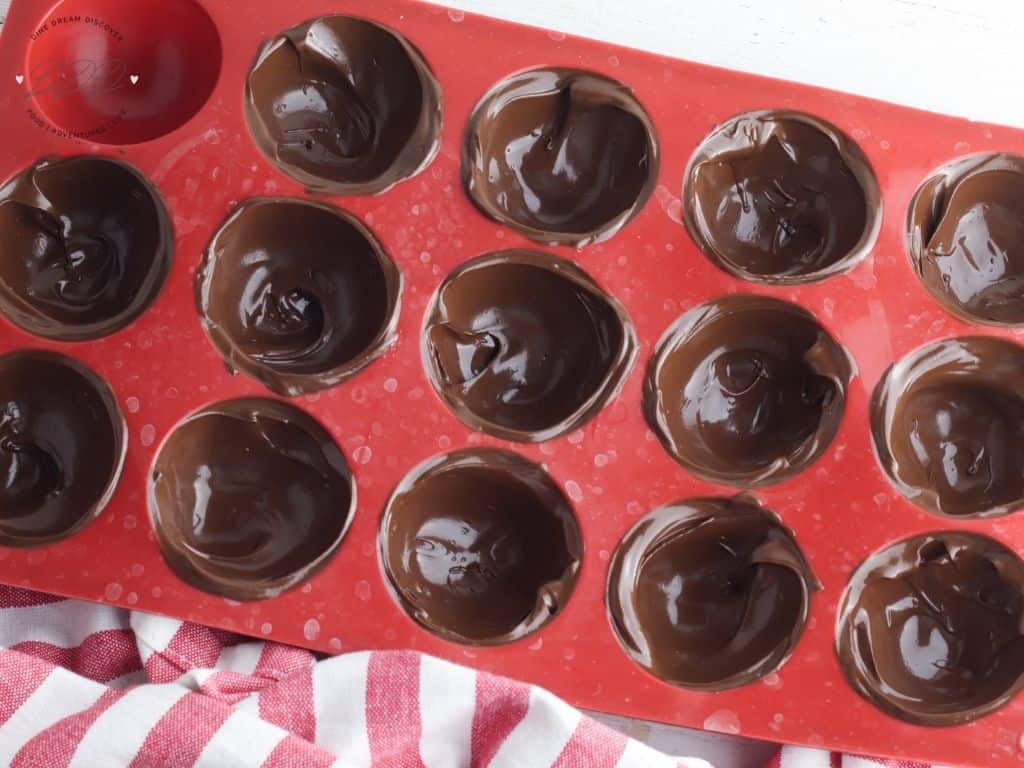
Lightly shake the extra chocolate back into the bowl.
Place the coated molds into the fridge for 5-10 minutes.
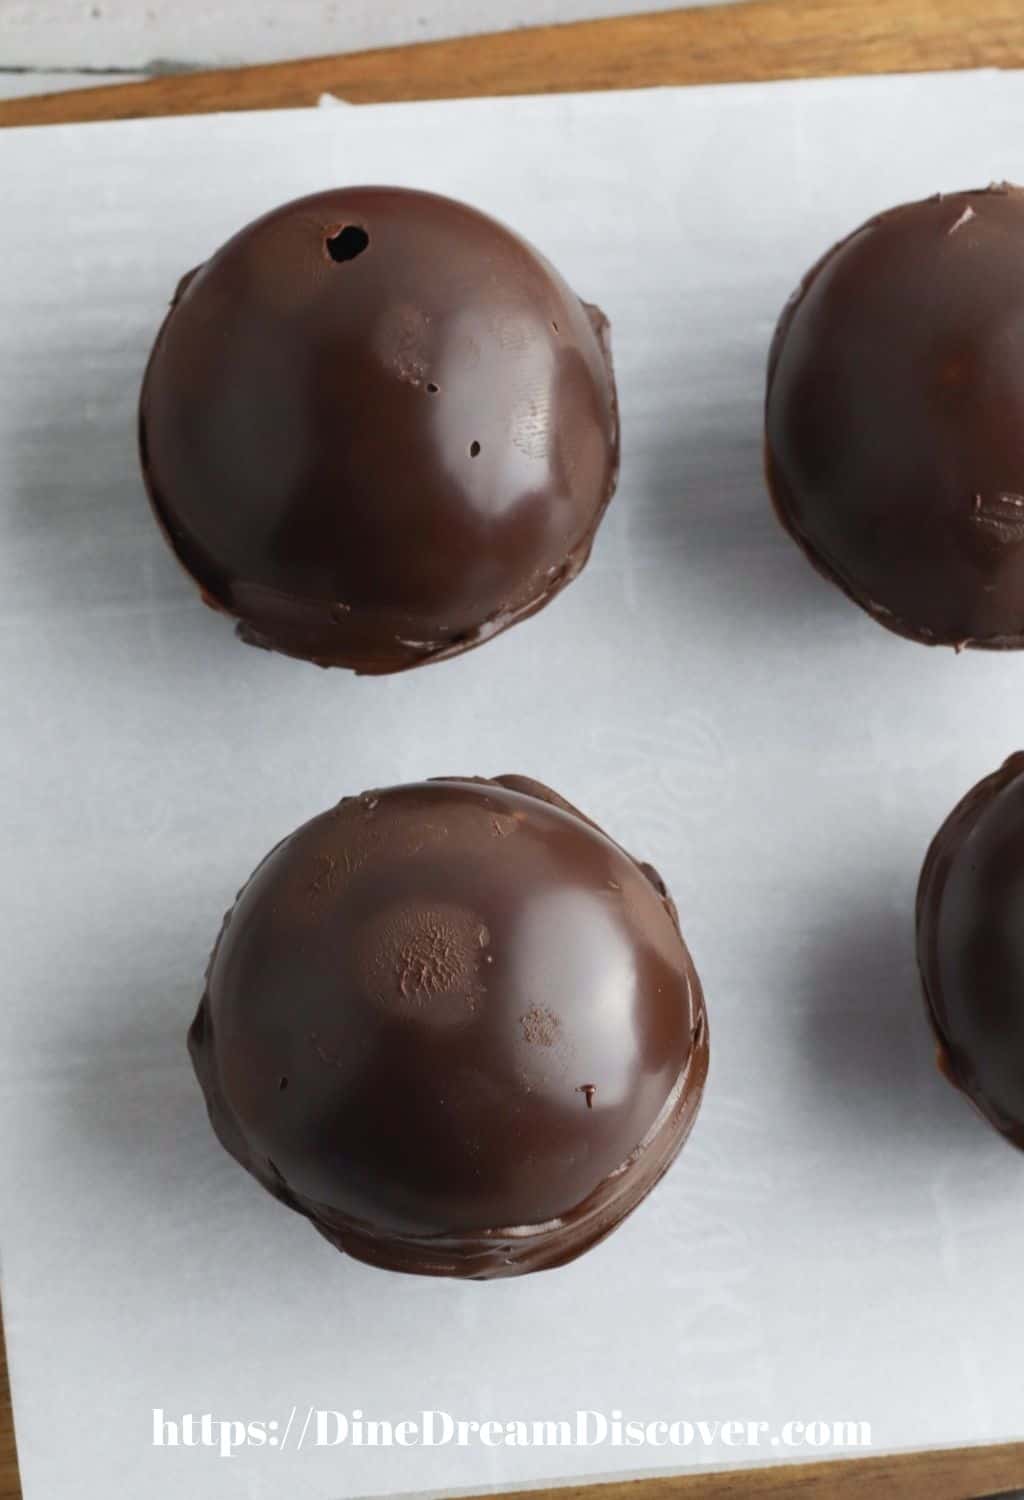
Remove from the fridge and gently peel the silicone mold back away from the hardened chocolate shell.
Carefully place the mold onto the cookie sheet .
.
Repeat steps with remaining molds.
You should now have 8 half sphere molds or more depending on which mold you use.
Scoop some of the melted chocolate into the piping bag and cut the tip.
Building the Cocoa Bomb
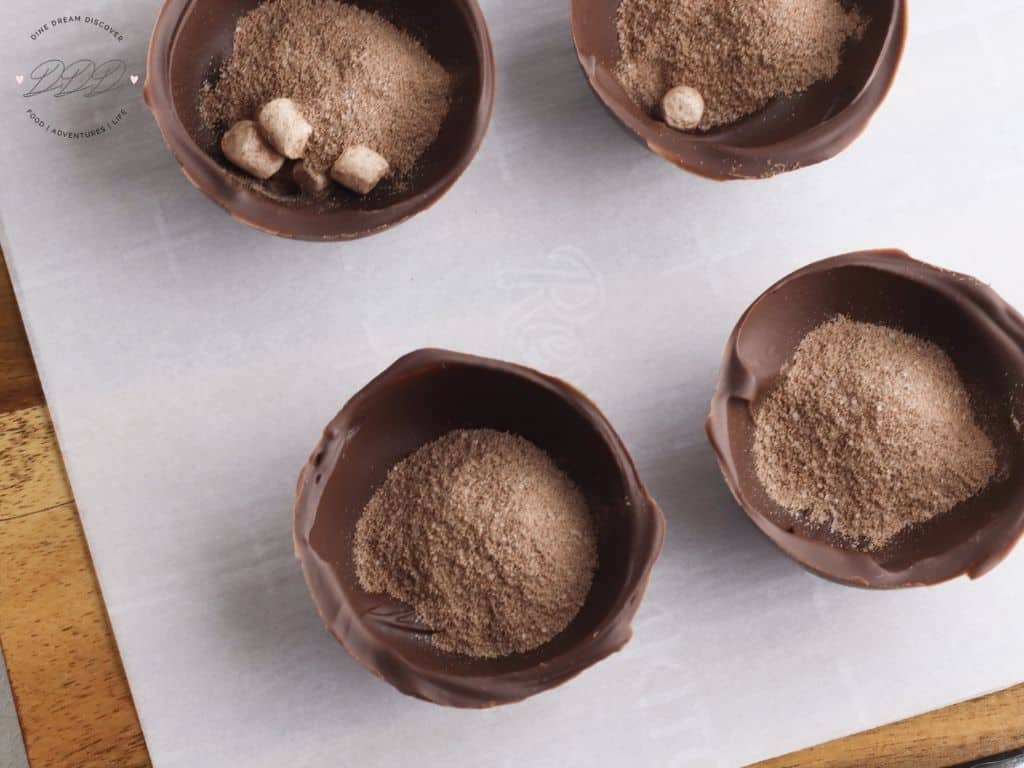
Scoop about 1 tablespoon of the hot cocoa mix into the bottom of the sphere mold.
Sprinkle in a few of the mini marshmallows.
Pipe a line of the melted chocolate around the edge of the bottom shell.
Carefully place the top shell onto the bottom and gently hold the top to the bottom for about 30 seconds to a minute to allow the piped chocolate to harden to the top shell.
Carefully pick up the bomb and make sure that there is no opening around the center of the shells.
Place the mold back onto the cookie sheet.
Drizzle chocolate over the mold and sprinkle some Valentine’s Day Sprinkles.
Place some bows onto the middle of some of the bombs for Minnie Mouse.
Using a small skillet, place over low heat.
Once the pan feels warm, place the bottom of the candy melts that you set aside.
Melt the bottom of the chocolate wafer so that it becomes a flat edge instead of round edge.
Quickly place the freshly melted edge onto the side of the cocoa bomb to create a “Ear”.
Repeat the same step with the second ear.
Allow to harden before enjoying!

[mv_create key="279" thumbnail="https://dinedreamdiscover.com/wp-content/uploads/2021/01/Mickey-and-Minnie-Hot-Cocoa-Bombs-3.jpg" title="Mickey and Minnie Hot Cocoa Bombs" type="recipe"]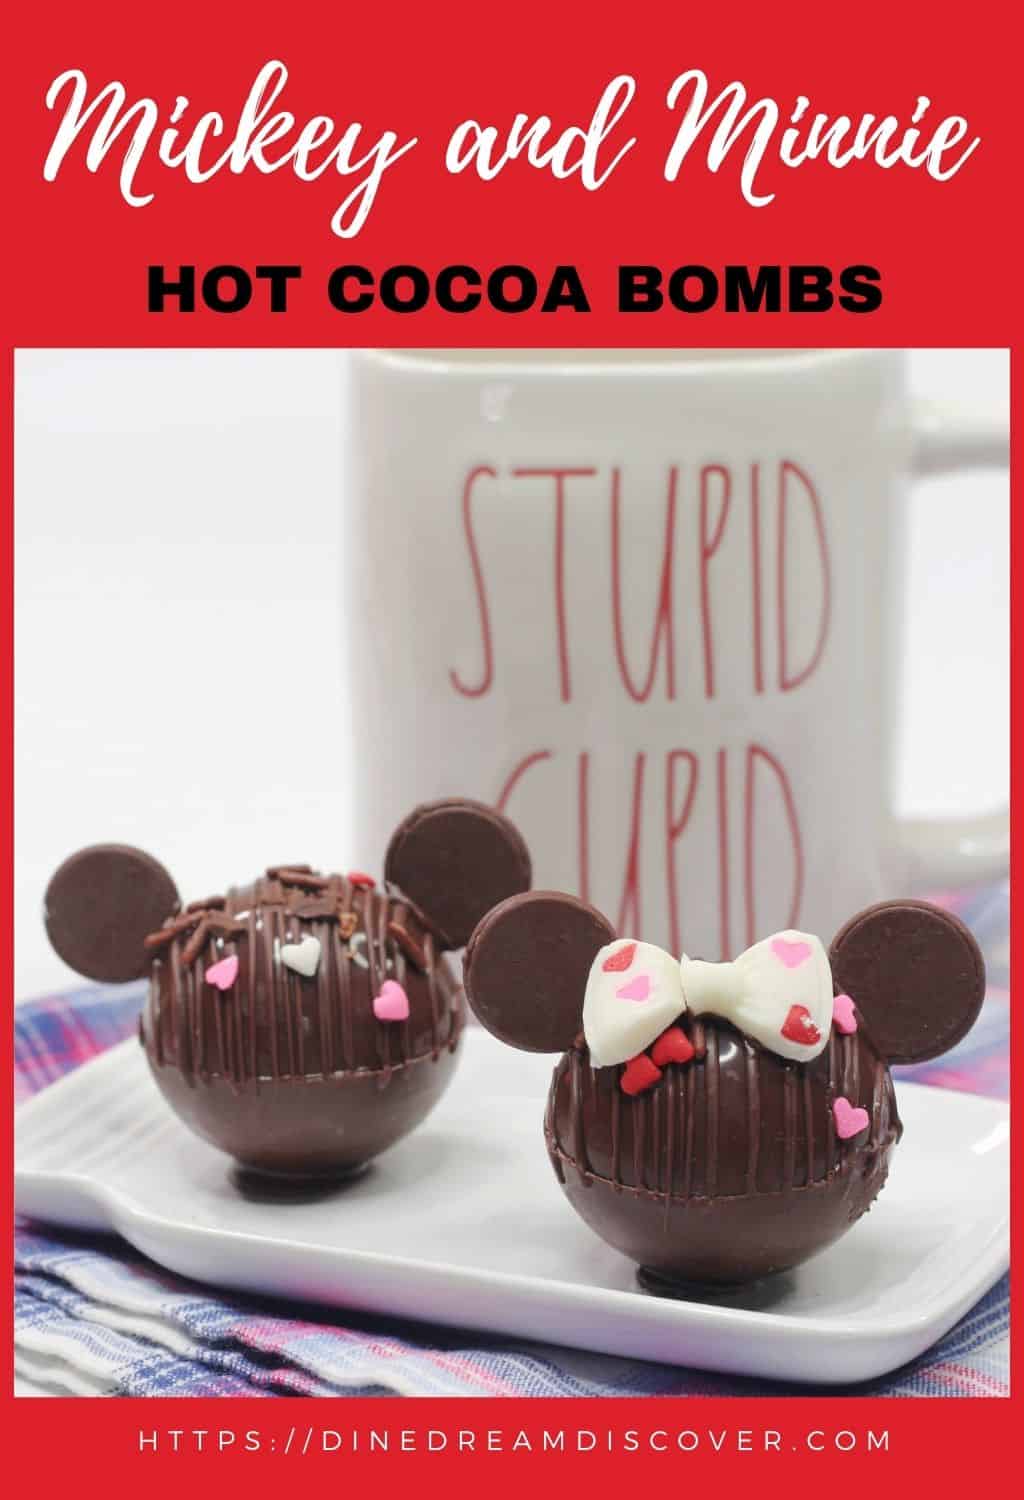
Be sure to follow us on Pinterest and PIN IT FOR LATER!

Shannon Gilchrist
These are so cute! I wish I had the time and patience to make thmem!
Lauryn R
These are so cute, I love Mickey and Minnie Mouse! These hot chocolate bombs are the newest hit of seems, I've been seeing them everywhere! I still haven't had one yet! I may have to try to make my own, thank you so much for sharing the recipe!