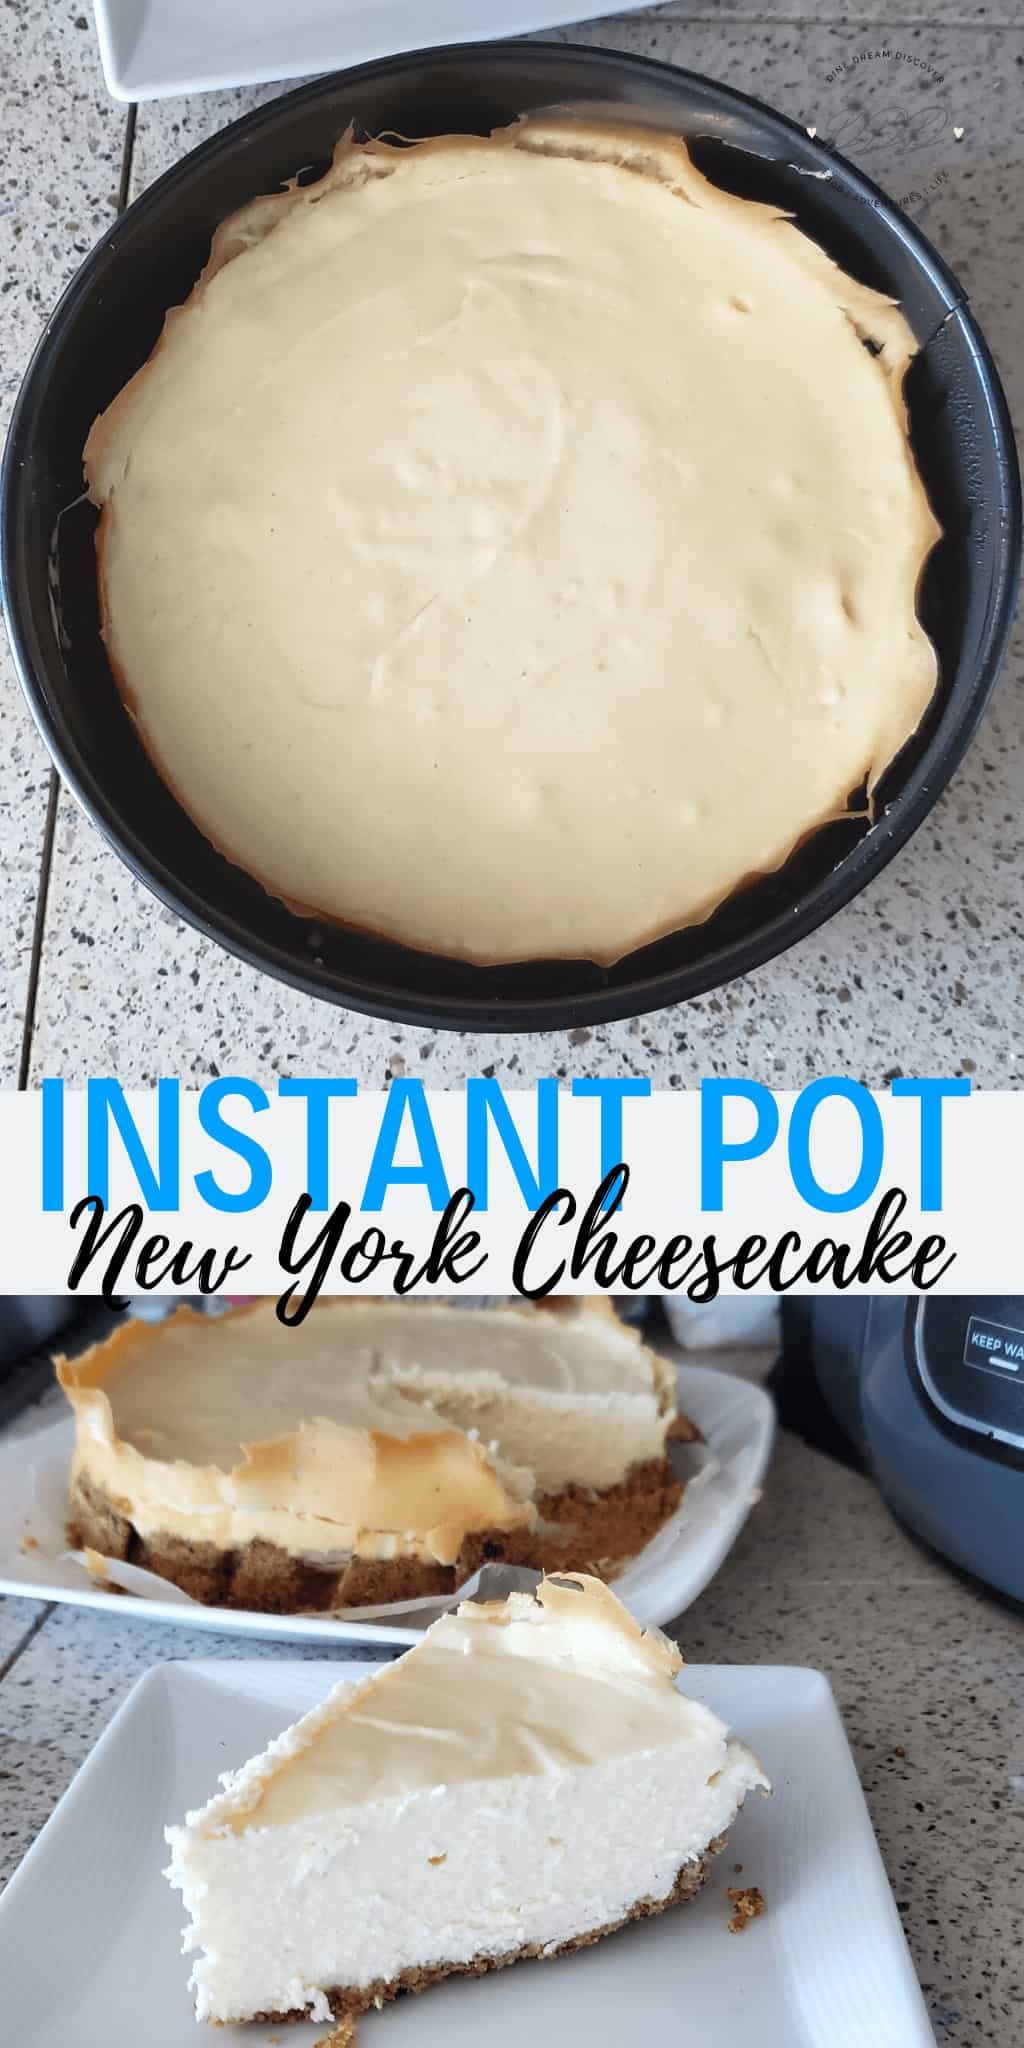
The Instant Pot Cheesecake tastes just as good made in the Ninja Foodie as it does the oven. You can make New York-Style Cheesecake at home for under $10.
This post may contain affiliate links. See my disclosure policy for more info.
Instant Pot Cheesecake New York Style
When I first heard of people making cheesecakes in their Instant Pots, I thought why? And how is that even possible? How is it going to taste? I admit that I am not one for change. But I figured, I have an Ninja Foodie so what am I saving it for. And since we don't have an oven in our RV, it's the Instant Pot or convection microwave. What's the worst that could happen? I would make more of them. lol
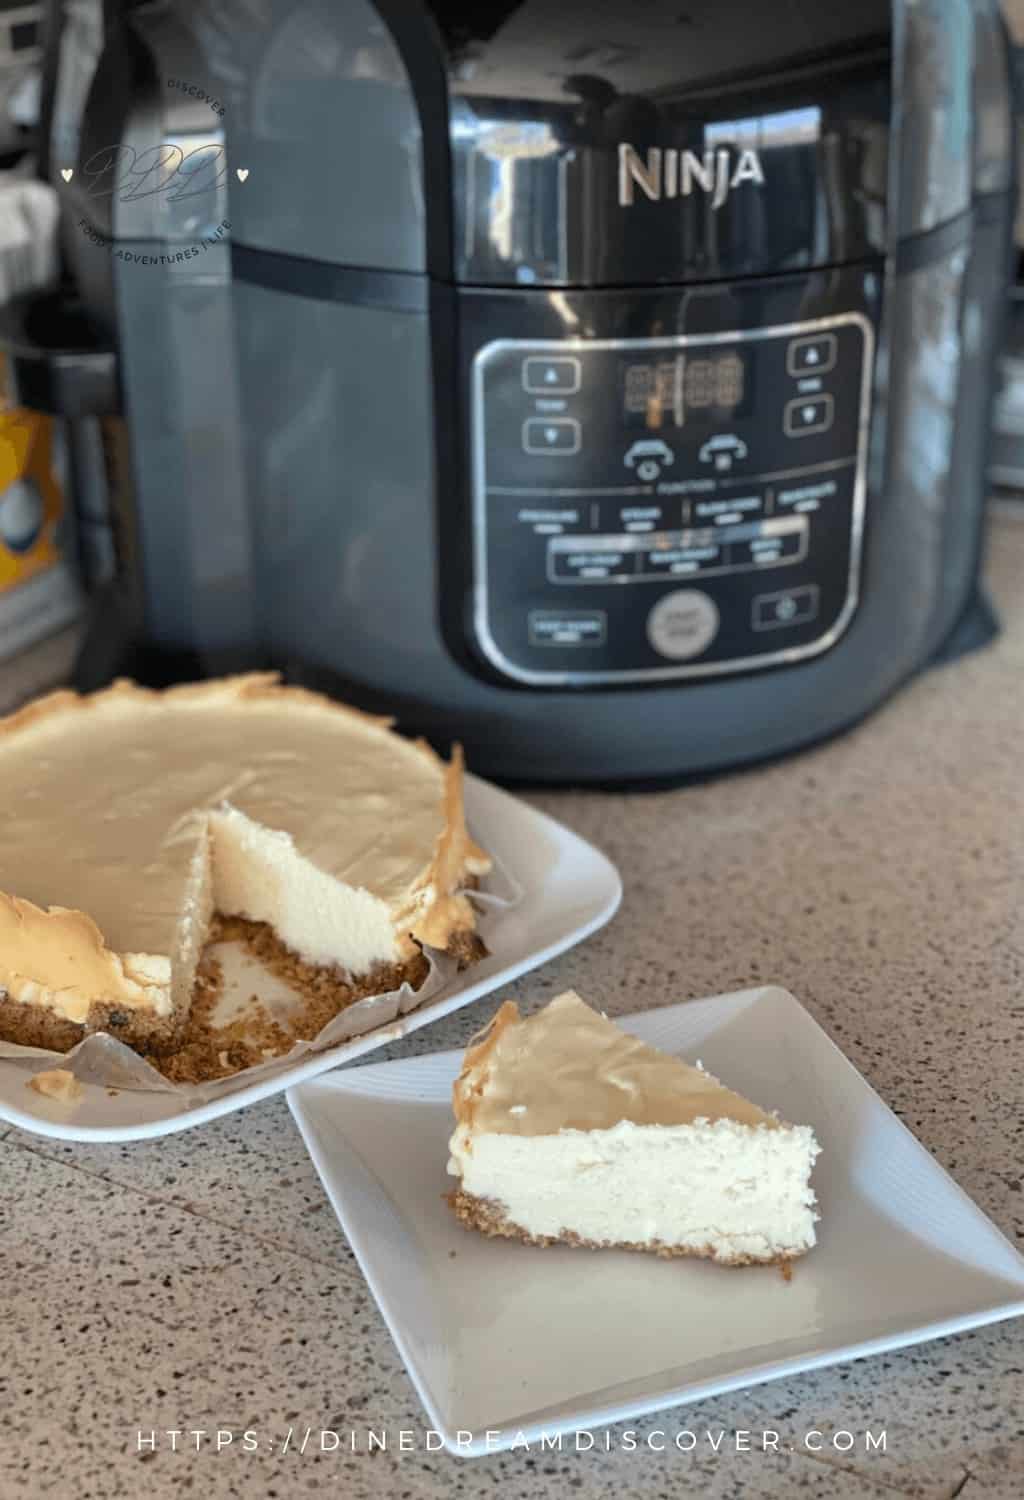
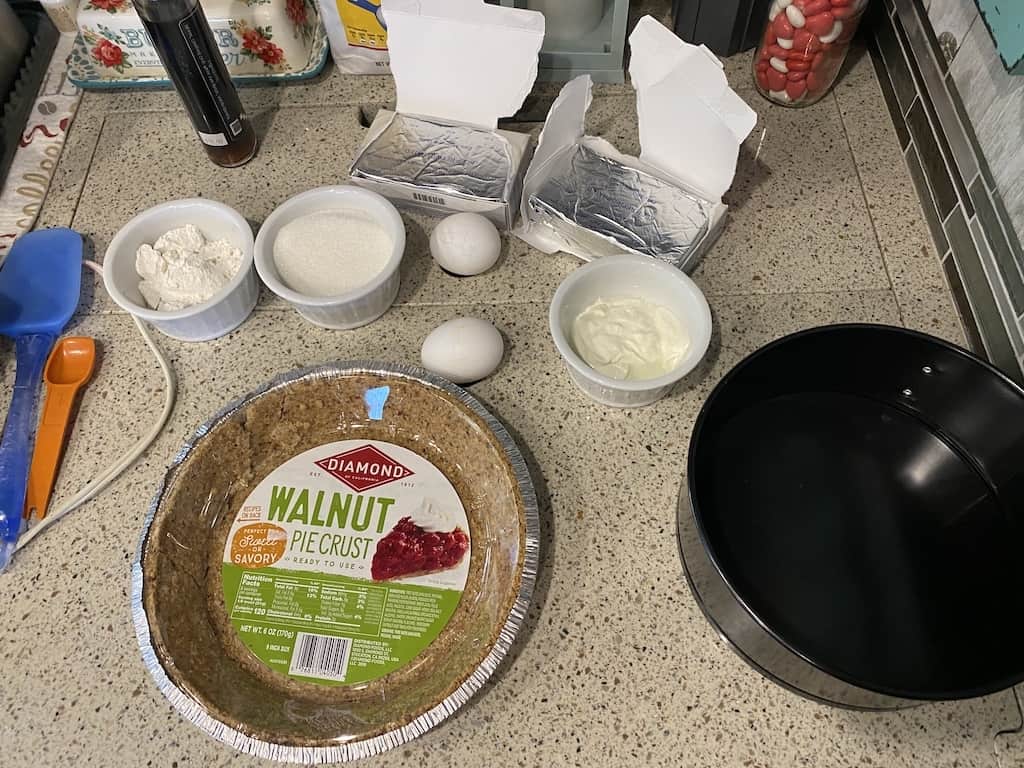
Besides the fact that the cheesecake takes very little time to make, (it's the cooling down that you have to wait for), it doesn't heat up the kitchen and you don't have to watch it. The recipe calls for a graham cracker crust but I like to switch things up sometimes. I used a Walnut pie crust that was on sale after the holidays. I just broke it up and pressed it into the pan in place of the graham cracker crumbs. You can make your own nut crust with whatever nuts you have on hand also. You can make New York Cheesecake at home for one third the price you can buy it for.
So, let's do this!
Graham Cracker Crust Ingredients
- 1 cup graham cracker crumbs (about 10 sheets)
- 4 tablespoons melted butter
- 2 teaspoons sugar
Instant Pot New York Style Cheesecake Ingredients
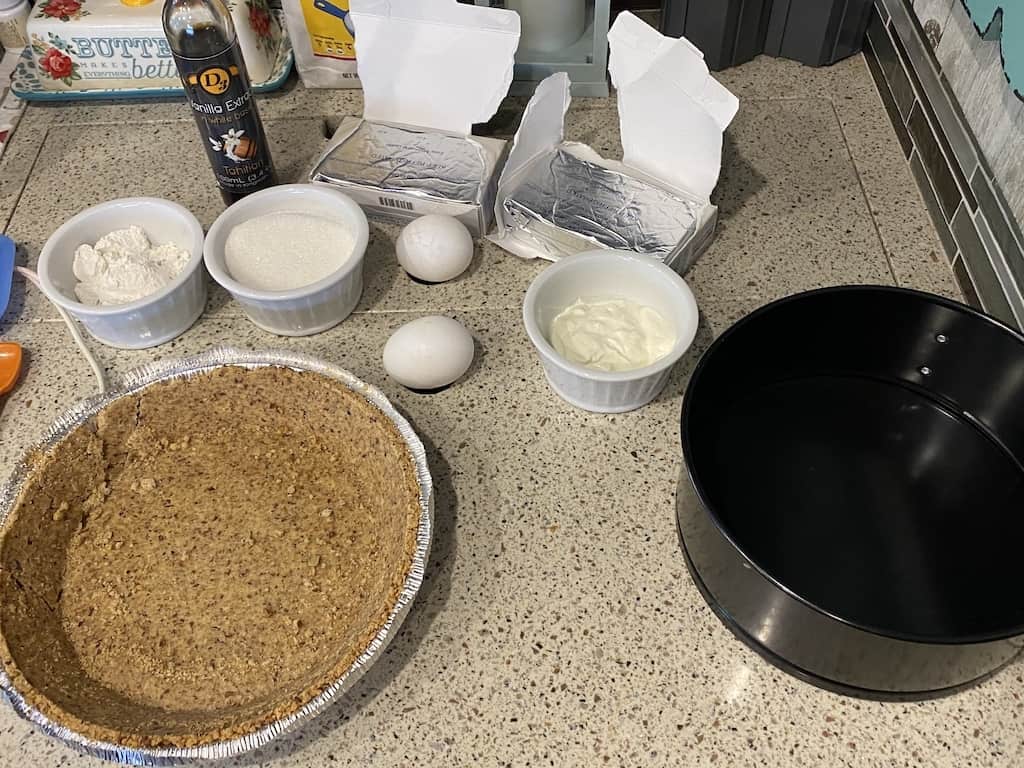
- 2 - 8 oz. bricks of softened cream cheese
- ½ cup sour cream
- 4 TBS. Flour
- 1 teaspoon vanilla
- 2 large eggs
- ½ cup sugar
Tools Needed
- instant pot or Ninja Foodie
- 7 inch springform pan
- Hand Mixer
- Wooden spoon
- Spatula
- Mixing Bowls
- Aluminum Foil
- Paper Towel
IMPORTANT NOTE: Cream cheese, sour cream, and eggs must be at room temperature. Do not over mix batter. Let cool completely before placing in fridge. Refrigerate overnight for at least 12 hours (preferably 24 hours) before cutting.
Cheesecake Crust Variations:
- You can change up the cheesecake just by making it with a different crust like I did.
- Oreo cookie crust
- Vanilla wafers crust
- Gingersnap cookie crust
- Ritz cracker crust
Cheesecake Topping Variations:
- Fresh fruit
- Pie filling
- Chocolate Ganache
- Sour cream layer mixed with sugar and vanilla (my mom made it this way and everyone loved it!)
- Caramel sauce
- Lemon Curd
Instant Pot Cheesecake Flavors:
- Make it Tye Dye by dividing the cheesecake batter into three bowls and adding neon pink, neon blue, and neon purple or yellow or whatever color you love. Drop into crust alternating colors with a tablespoon and swirl with a knife.
- Chocolate Cheesecake - Add 2 Tablespoons of unsweetened cocoa powder and 4 oz. semi sweet chocolate.
- Caramel Cheesecake - Once batter is poured into crust, add ¼ cup of caramel added to the batter and swirled with a knife.
- Funfetti Cheesecake - Add ¼ cup rainbow jimmies.
- Peanut Butter Cheesecake - ¼ cup creamy peanut butter mixed into the batter topped with a chocolate ganache.
- Instant Pot Pumpkin Cheesecake - Add ¾ cup pumpkin and 1 teaspoon of pumpkin pie spice.
- Make a Peppermint Cheesecake by adding ¼ cup chopped soft peppermint candies and ¼ teaspoon peppermint extract
- Chocolate Chip Cheesecake - ½ cup chocolate chips and a tablespoon of unsweetened cocoa powder.
- Key Lime Cheesecake - Juice and zest of Key lime.
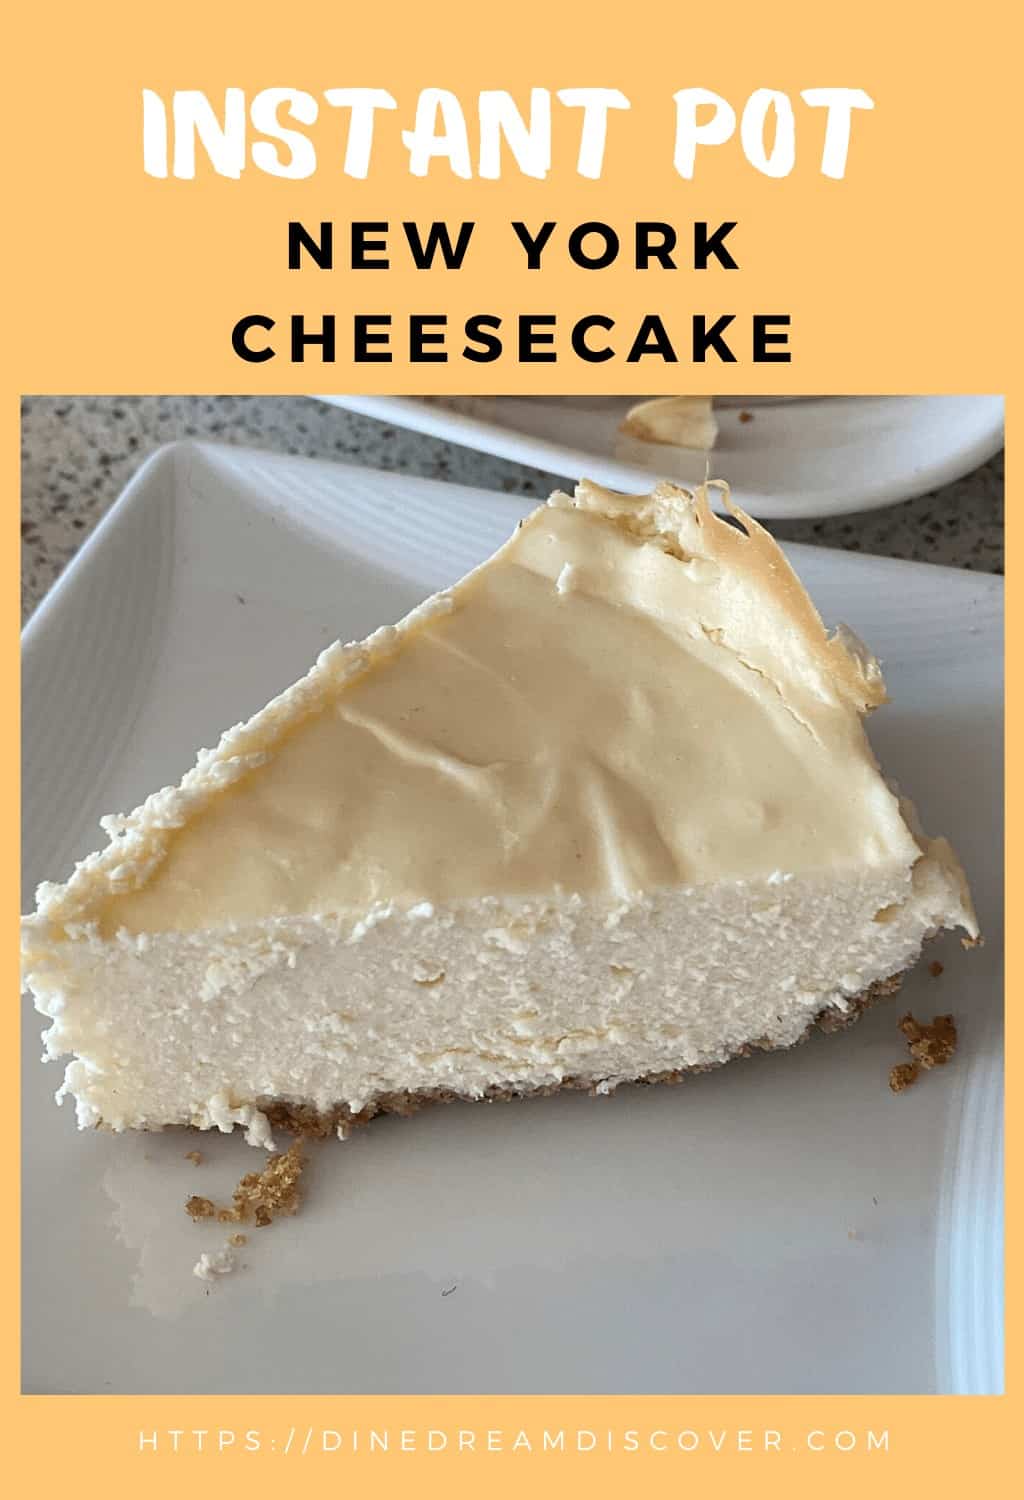
How to make the Best Creamiest New York Cheesecake
Prepare Crust
1. Mix graham crackers with melted butter and sugar.
2. Place a round piece of parchment paper on the bottom of springform pan.
3. Press crumbs firmly into springform pan. I use a soufflé cup to press it down. Come up a little on the sides.
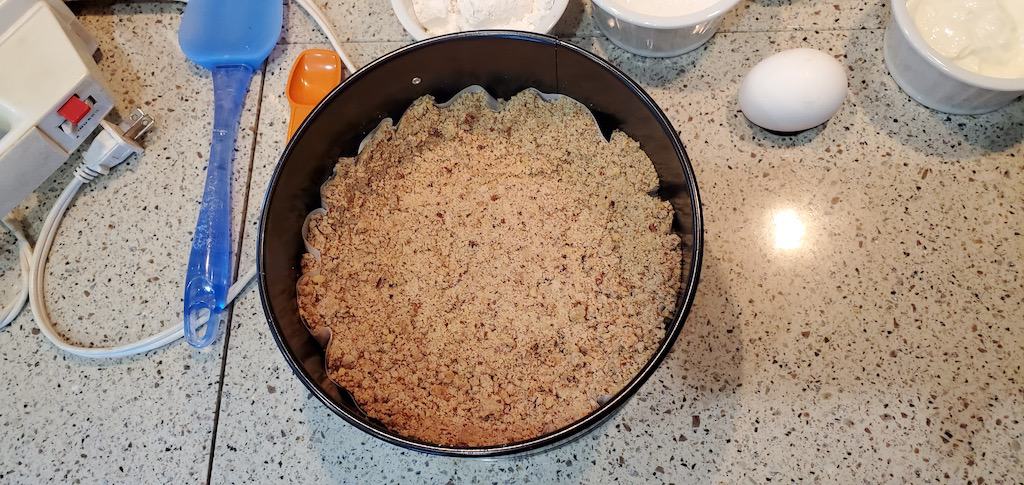
4. There are two methods that you can choose from for the crust. You can either bake it at 350° for about 10 minutes OR place it in the freezer while you are preparing the cheesecake mixture. Therefore, either way will work. I usually do the freezer method as I do not have an oven in my rv.
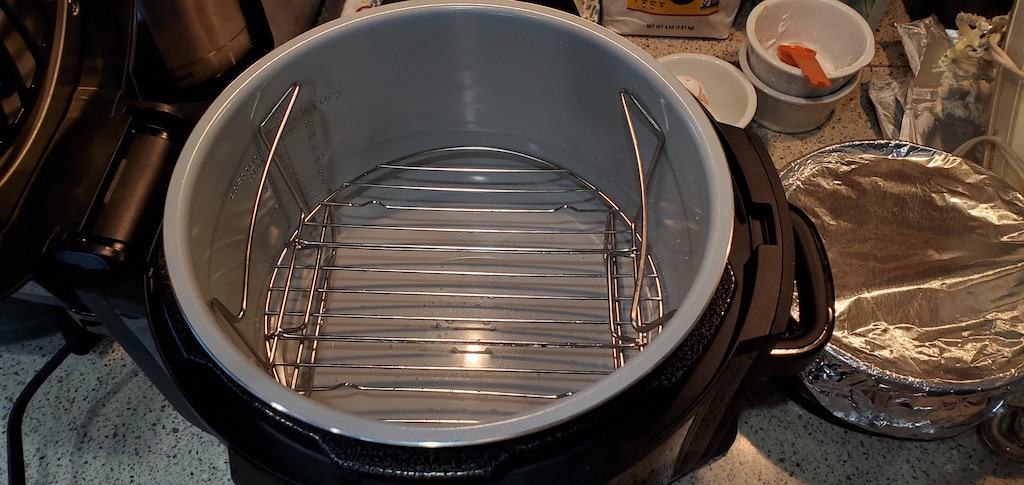
5. Place rack in Instant Pot.
6. Pour 1 cup of water in Instant Pot.
Prepare Instant Pot Cheesecake Batter
7. Place 16 ounces cream cheese in mixing bowl. Beat for about a minute. Do not over mix. Scraping down sides as you beat.
8. Add sour cream and vanilla. Mix in.
9. Mix flour and sugar in.
10. Beat in one egg at a time until mixed in.
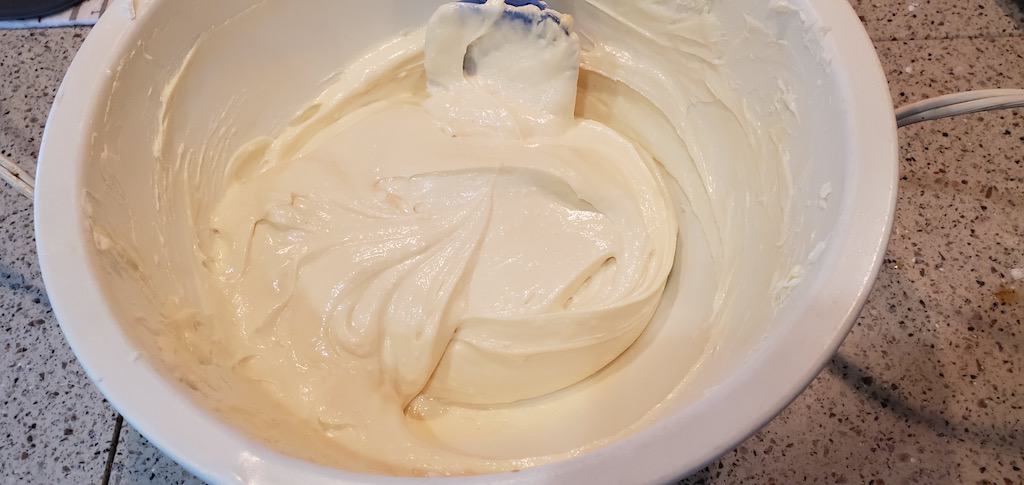
11. Pour cheesecake batter into graham cracker crust in Instant Pot Cheesecake pan. Tap pan on counter to get air bubbles out.
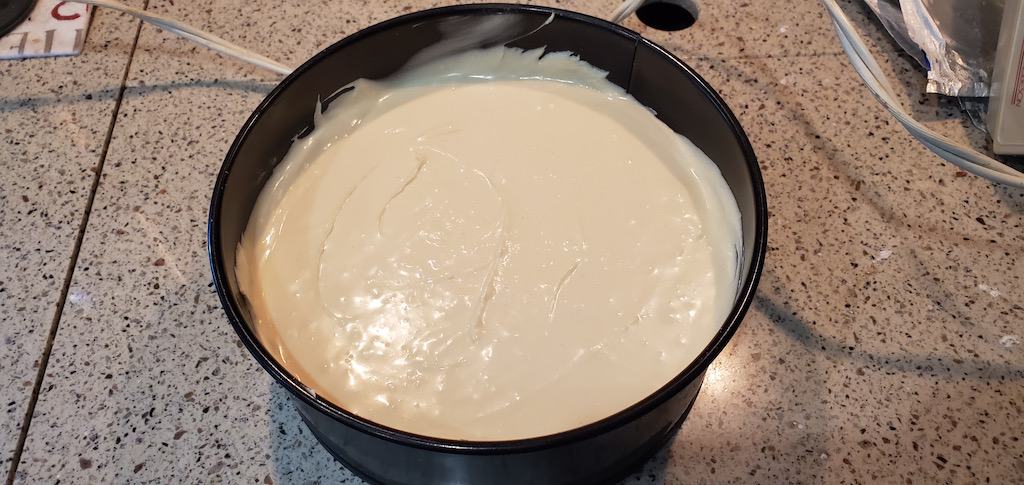
12. You can make a sling with aluminum foil to lift the pan out of the instant pot. I have handles on my rack in my Ninja Foodie so I did not make it.
13. Cover the pan with a paper towel. Above all this keeps the moisture off the cheesecake as it cooks.
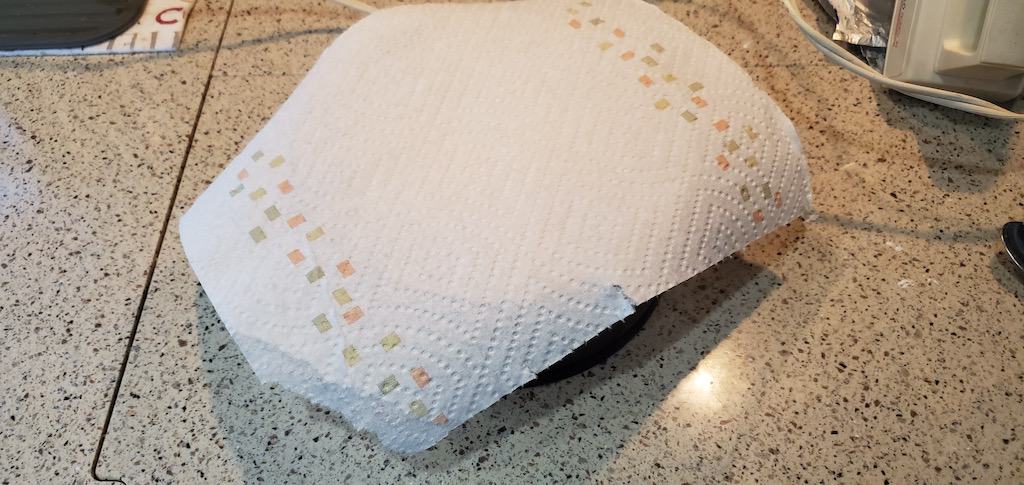
14. Place a piece of aluminum foil on top of paper towel and fold along edges.
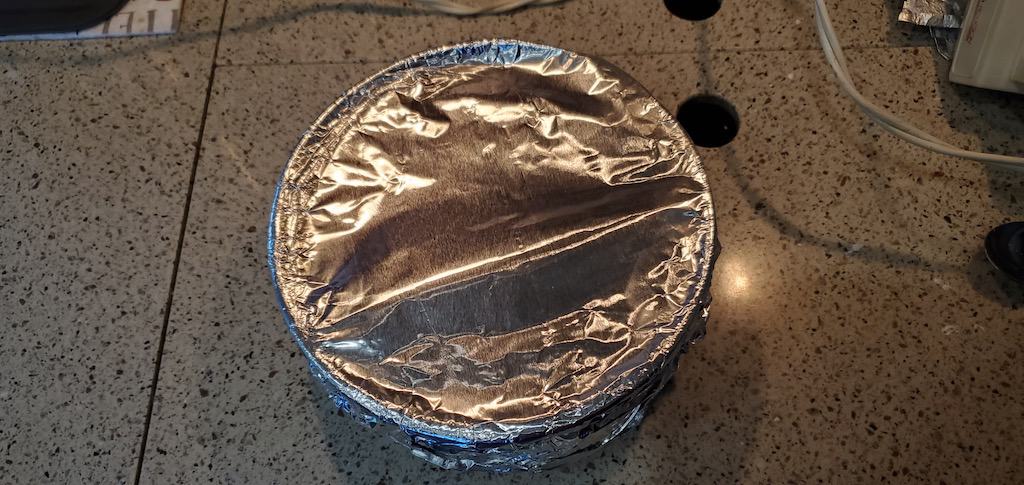
15. Place cheesecake on rack.
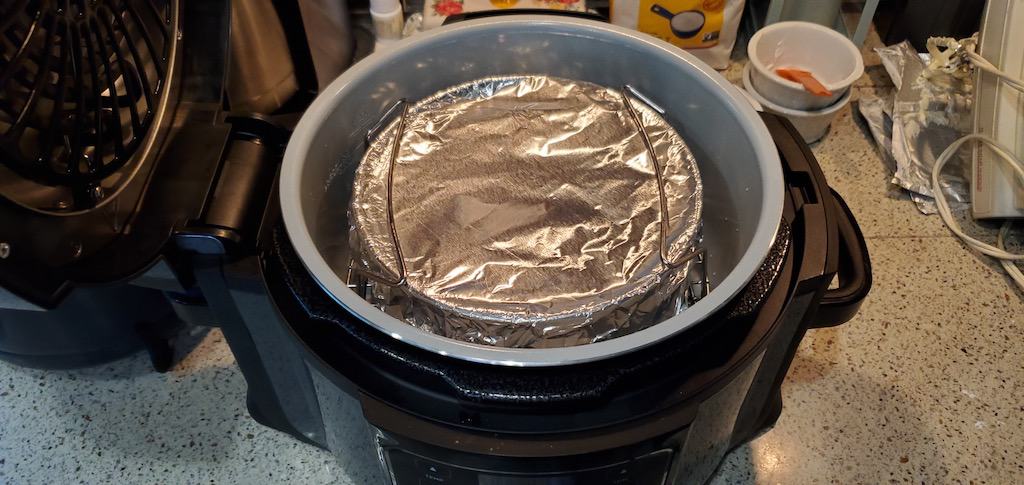
16. Place lid on top.
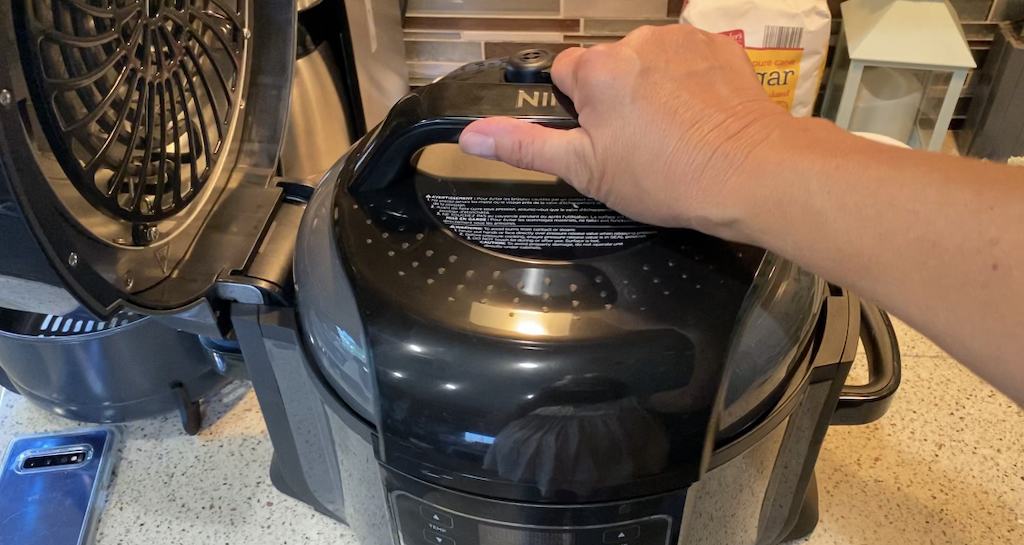
17. Make sure vent is set to closed.
18. Set time for 30 minutes.
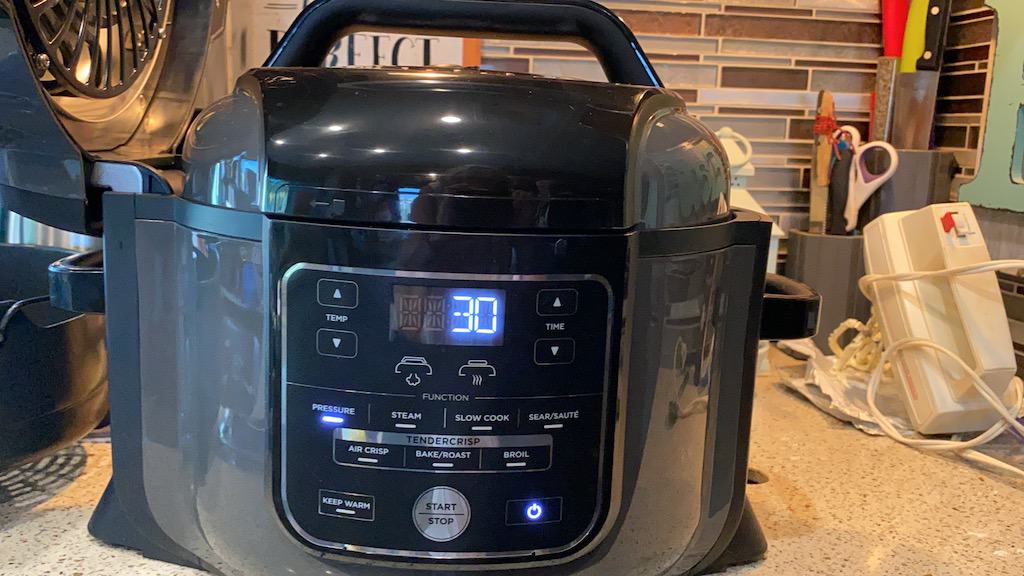
19. Natural release. (takes about 10-15 minutes!)
20. When done, remove cheesecake from Instant Pot and place on wire rack to cool.
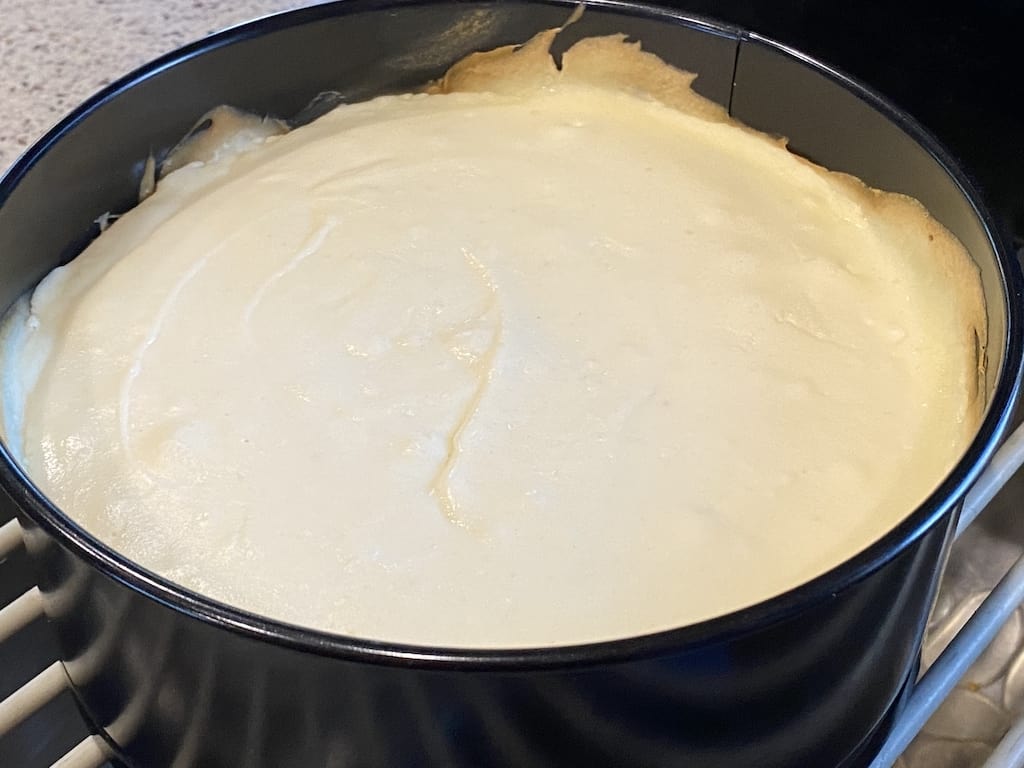
21. Once completely cooled, place in refrigerator overnight, but preferably 24 hours. (good luck with that if you have a husband that can't wait!)
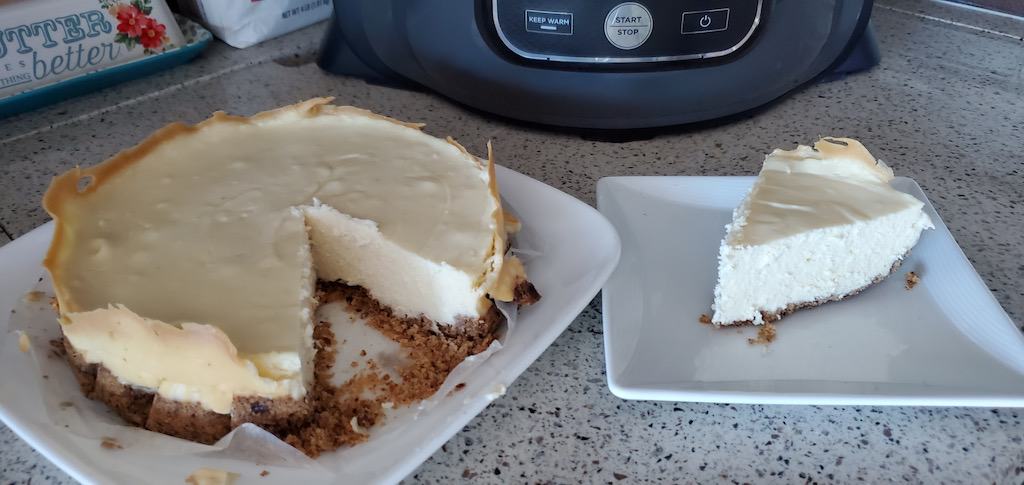
Next Day
22. Remove from refrigerator and run a knife around sides before removing springform sides. (Mine pulled away from the sides by itself and I didn't need to do this.)
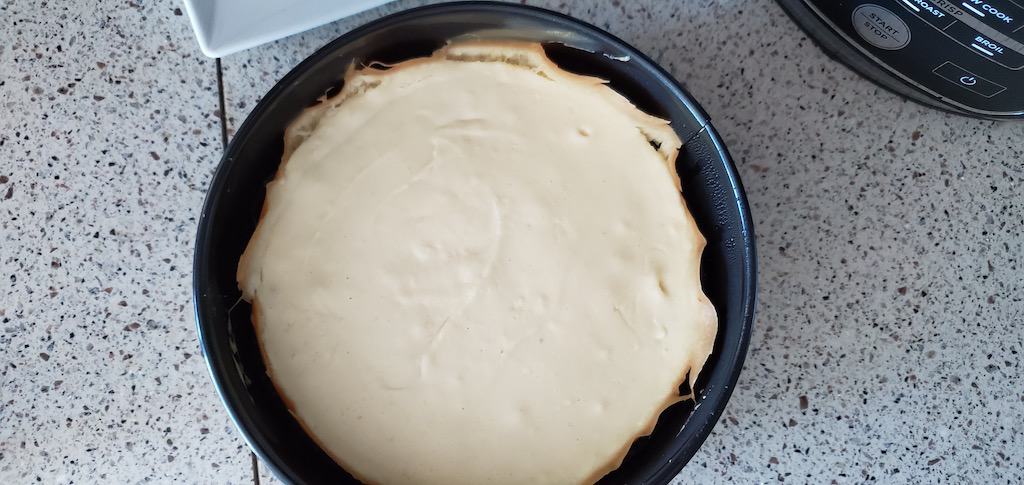
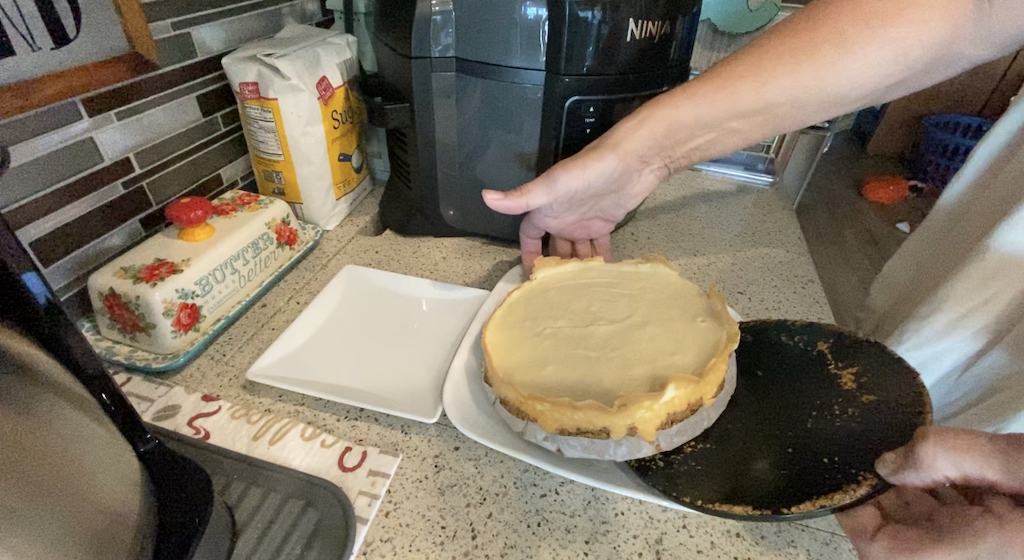
23. Slide onto plate. I pulled mine onto the plate with the parchment paper.
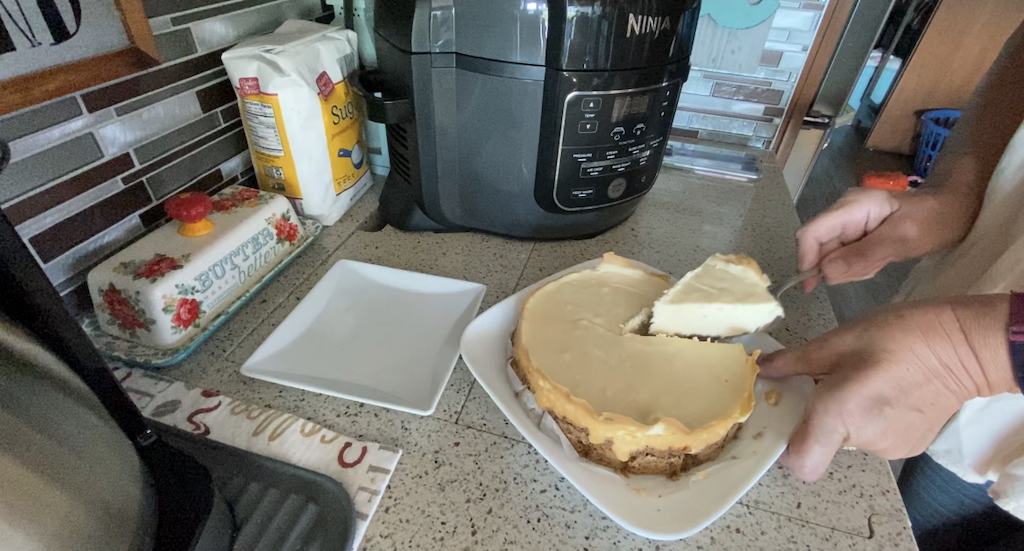
24. Finally, cut a slice and enjoy!
25. You can add fresh fruit or canned fruit to the top but that's optional. Don't forget the whipped cream. 😉
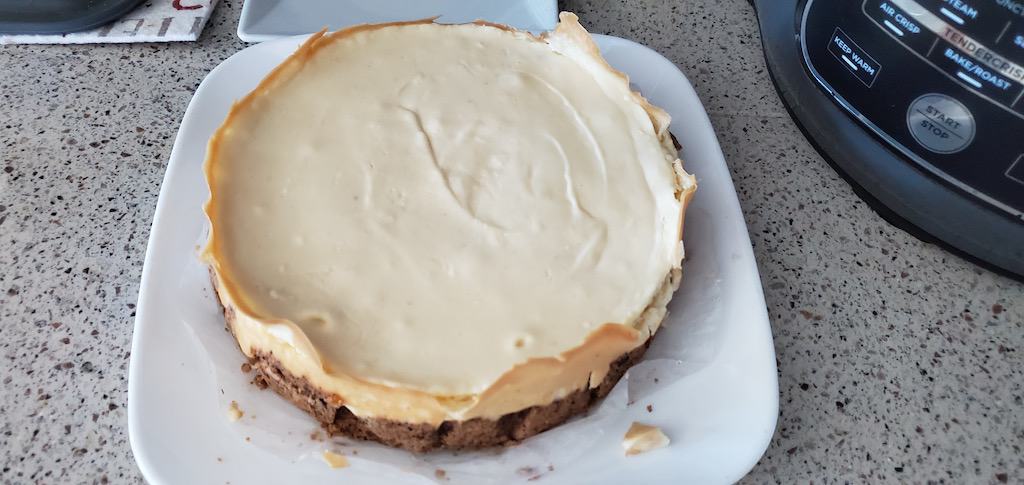
This Pressure Cooker Cheesecake was so easy that it was almost too easy and dangerous I might add.
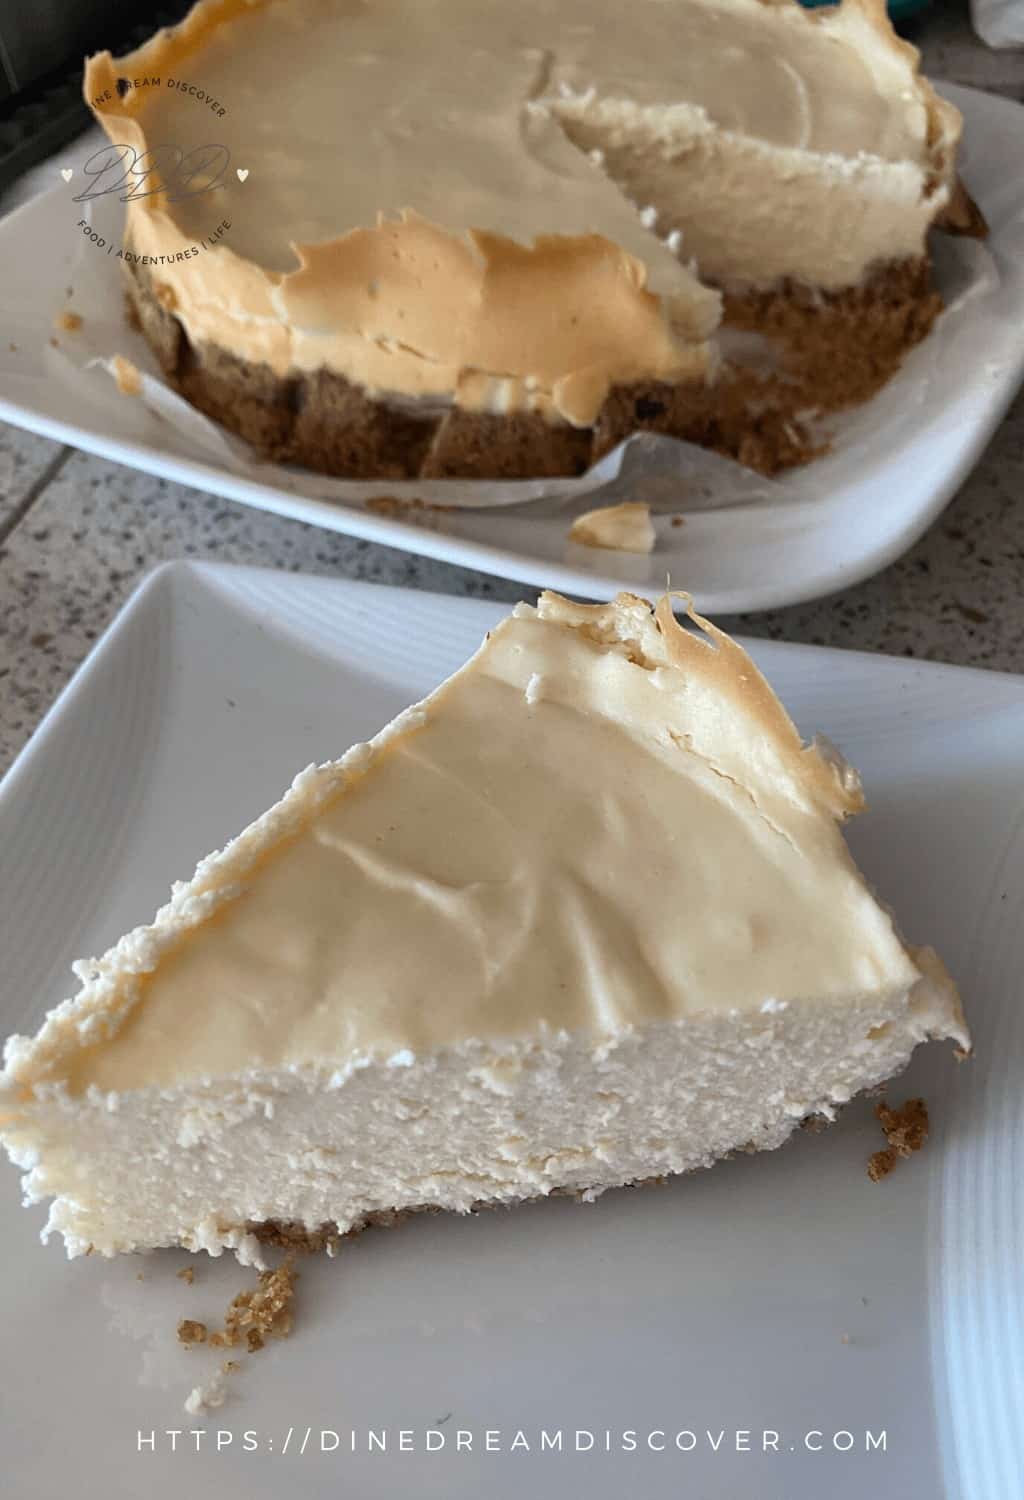
Instant Pot Cheesecake New York Style
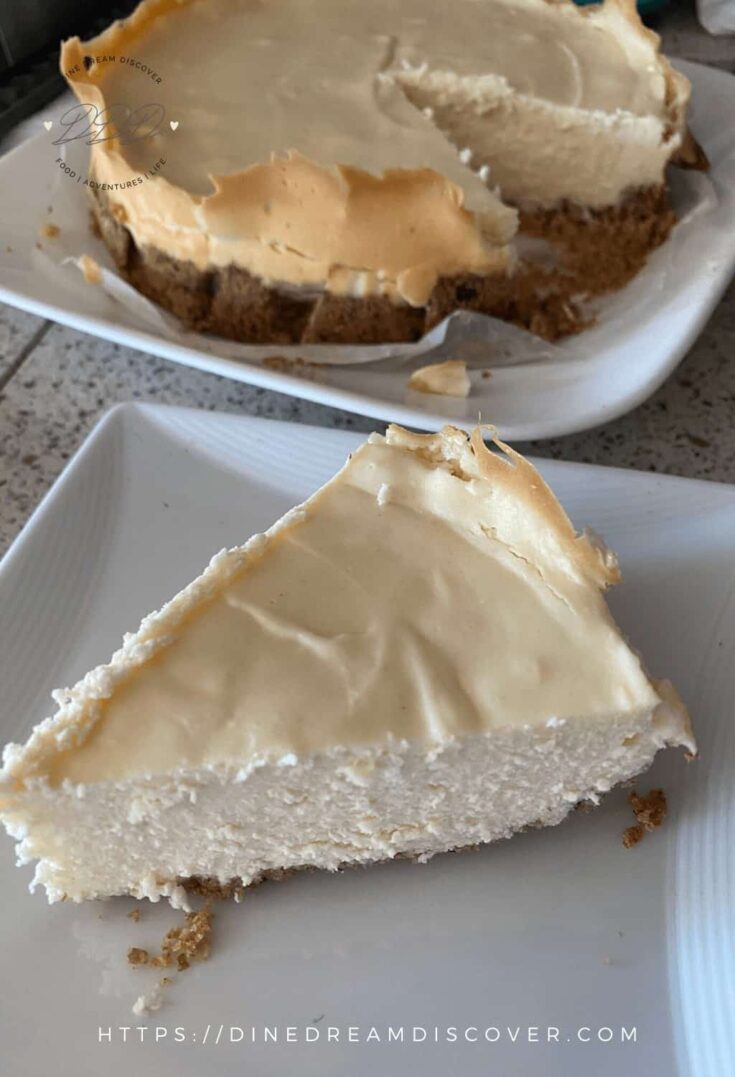
The Instant Pot Cheesecake tastes just as good made in the Ninja Foodie as it does the oven. You can make New York-Style Cheesecake at home for under $10.
Ingredients
Graham Cracker Crust Ingredients
- 1 cup graham cracker crumbs (about 10 sheets)
- 4 tablespoons melted butter
- 2 teaspoons sugar
Instant Pot New York Style Cheesecake Ingredients
- 2 - 8 oz. bricks of softened cream cheese
- ½ cup sour cream
- 4 TBS. Flour
- 1 teaspoon vanilla
- 2 large eggs
- ½ cup sugar
Tools Needed
- Instant Pot or Ninja Foodie
- 7 inch springform pan
- Hand Mixer
- Wooden spoon
- Spatula
- Mixing Bowls
- Aluminum Foil
- Paper Towel
Instructions
- Mix graham crackers with melted butter and sugar.
- Place a round piece of parchment paper on the bottom of springform pan.
- Press crumbs firmly into springform pan. I use a soufflé cup to press it down. Come up a little on the sides.
- There are two methods that you can choose from for the crust. You can either bake it at 350° for about 10 minutes OR place it in the freezer while you are preparing the cheesecake mixture. Either way will work. I usually do the freezer method as I do not have an oven in my RV.
- Place rack in Instant Pot.
- Pour 1 cup of water in Instant Pot.
Prepare Batter
- Place 16 ounces cream cheese in mixing bowl. Beat for about a minute. Do not over mix. Scraping down sides as you beat.
- Add sour cream and vanilla. Mix in.
- Mix flour and sugar in.
- Beat in one egg at a time until mixed in.
- Pour cheesecake batter into graham cracker crust. Tap pan on counter to get air bubbles out.
- You can make a sling with aluminum foil to lift the pan out of the instant pot. I have handles on my rack in my Ninja Foodie so I did not make it.
- Cover the pan with a paper towel. This keeps the moisture off the cheesecake as it cooks.
- Place a piece of aluminum foil on top of paper towel and fold along edges.
- Place cheesecake on rack.
- Place lid on top.
- Make sure vent is set to closed.
- Set time for 30 minutes.
- Natural release.
- When done, remove cheesecake from Instant Pot and place on wire rack to cool.
- Once completely cooled, place in refrigerator overnight, but preferably 24 hours. (good luck with that if you have a husband that can't wait!)
Next Day
- Remove from refrigerator and run a knife around sides before removing springform sides. (Mine pulled away from the sides by itself and I didn't need to do this.)
- Slide onto plate. I pulled mine onto the plate with the parchment paper.
- Cut a slice and enjoy!
- You can add fresh fruit or canned fruit to the top but that's optional. Don't forget the whipped cream. 😉
- This Pressure Cooker Cheesecake was so easy that it was almost too easy and dangerous I might add.
Notes
IMPORTANT NOTE: Cream cheese, sour cream, and eggs must be at room temperature. Do not over mix batter. Let cool completely before placing in fridge. Refrigerate overnight for at least 12 hours (preferably 24 hours) before cutting.
Recommended Products
As an Amazon Associate and member of other affiliate programs, I earn from qualifying purchases.
-
New Star Foodservice 42917 Stainless Steel Measuring Spoons and Cups Combo, Set of 8, Silver
-
Healthy Cooking Utensils Set - 6 Wooden Spoons For Cooking – Natural Nonstick Hard Wood Spatula and Spoons – Uncoated and Unglued – Durable Eco-friendly and Safe Kitchen Cooking Tools.
-
KitchenAid KHM512ER 5-Speed Ultra Power Hand Mixer, Empire Red
-
Premium Stainless Steel Mixing Bowls (Set of 6) Stainless Steel Mixing Bowl Set - Easy To Clean, Nesting Bowls for Space Saving Storage, Great for Cooking, Baking, Prepping
-
Baking Parchment Circles, Set of 100, 7 Inch Non Stick Round Parchment Paper for Springform Cake Tin, Toaster Oven, Microwave and so on
-
Ninja OP301 Pressure Cooker, Steamer & Air Fryer
-
Instant Pot IP-DUO60 321 Electric Pressure Cooker, 6-QT, Stainless Steel/Black
Nutrition Information
Yield
8Serving Size
1Amount Per Serving Calories 409Total Fat 30gSaturated Fat 17gTrans Fat 0gUnsaturated Fat 10gCholesterol 128mgSodium 294mgCarbohydrates 29gFiber 0gSugar 19gProtein 7g
Nutrition may vary depending on the products used.
Follow us on Pinterest and PIN IT FOR LATER!

Related Posts


Leave a Reply